Table of Contents
- Introduction to Cheesy Hashbrown Casserole
- Why This Recipe is a Family Favorite
- Tips for Making the Perfect Hashbrown Casserole
- Creative Variations to Try
- Pairing Suggestions for Your Meal
- Frequently Asked Questions
Key Takeaways
This Cheesy Hashbrown Casserole is an easy-to-make, crowd-pleasing dish. It combines shredded hashbrowns, cheddar cheese, and a creamy base for the ultimate comfort food. Perfect for breakfast, dinner, or holiday gatherings, this recipe is versatile, satisfying, and packed with cheesy goodness.
Introduction to Cheesy Hashbrown Casserole
Welcome to Clara Cooks! If you’re searching for a dish that’s as easy as it is delicious, this cheesy hashbrown casserole is just what you need. Made with simple ingredients, this recipe brings warmth and comfort to every table. Whether you’re preparing for a holiday feast or a casual family dinner, this dish will quickly become a go-to favorite.

Why This Recipe is a Family Favorite
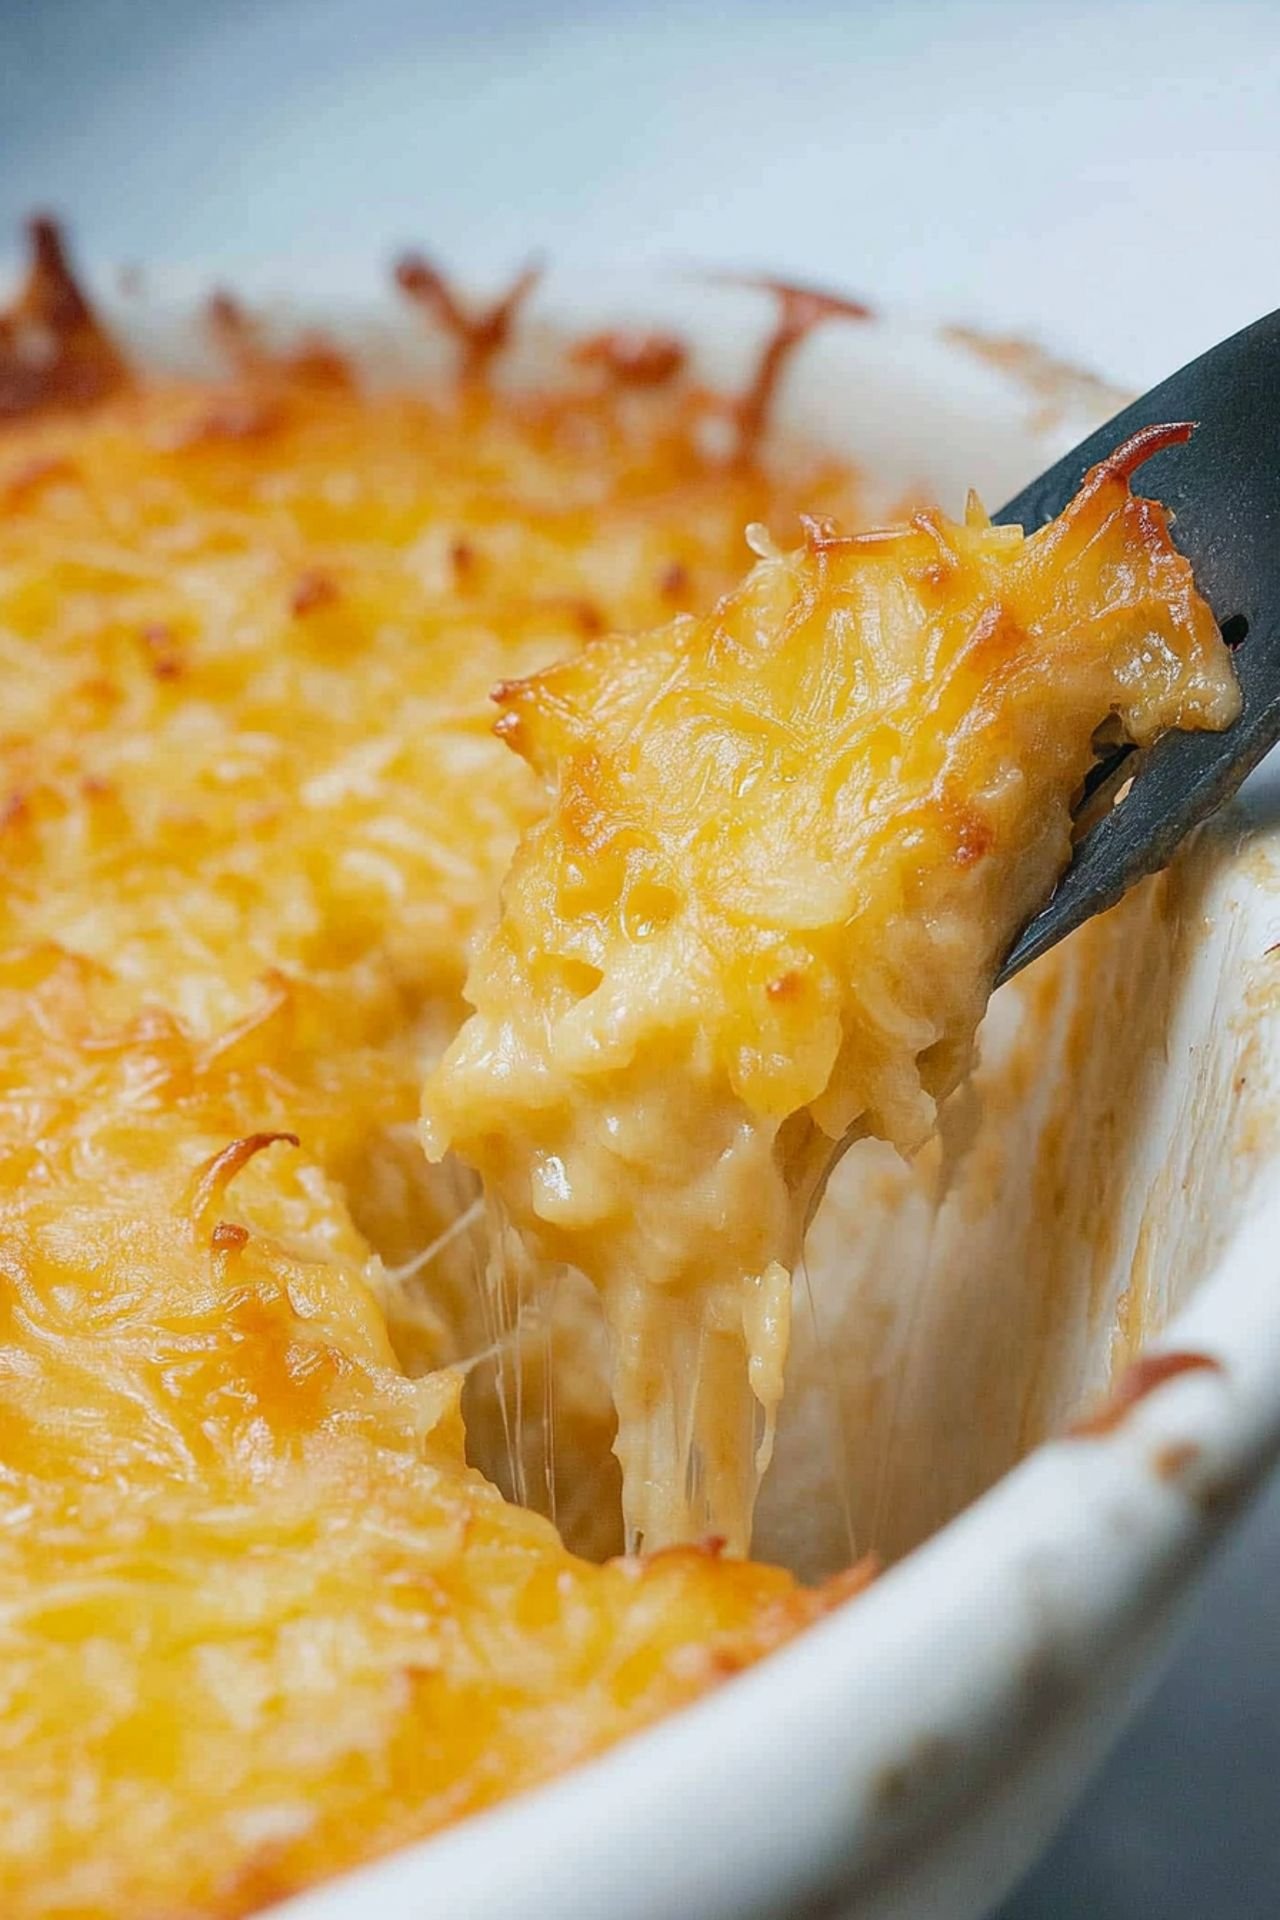
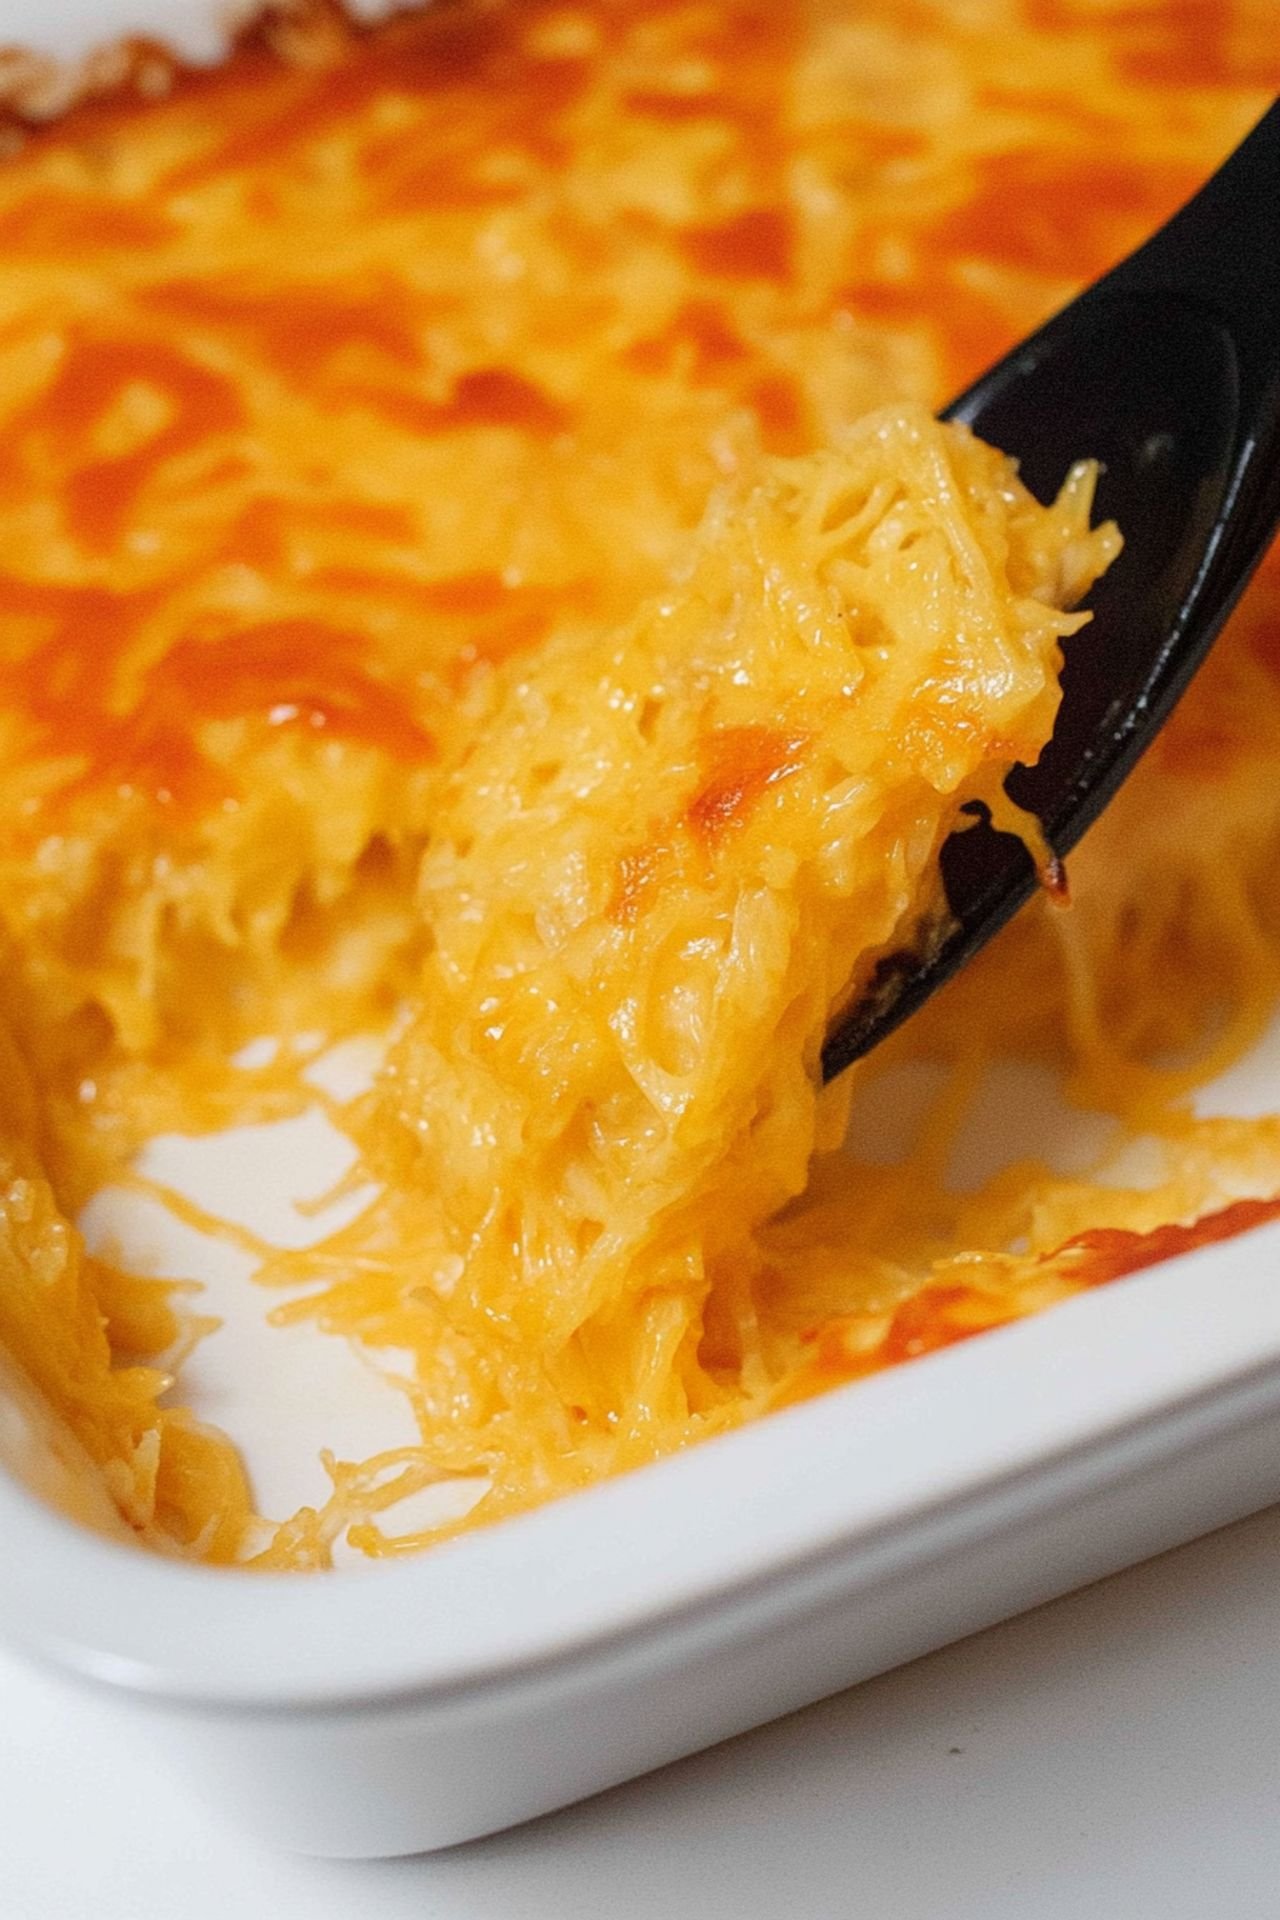
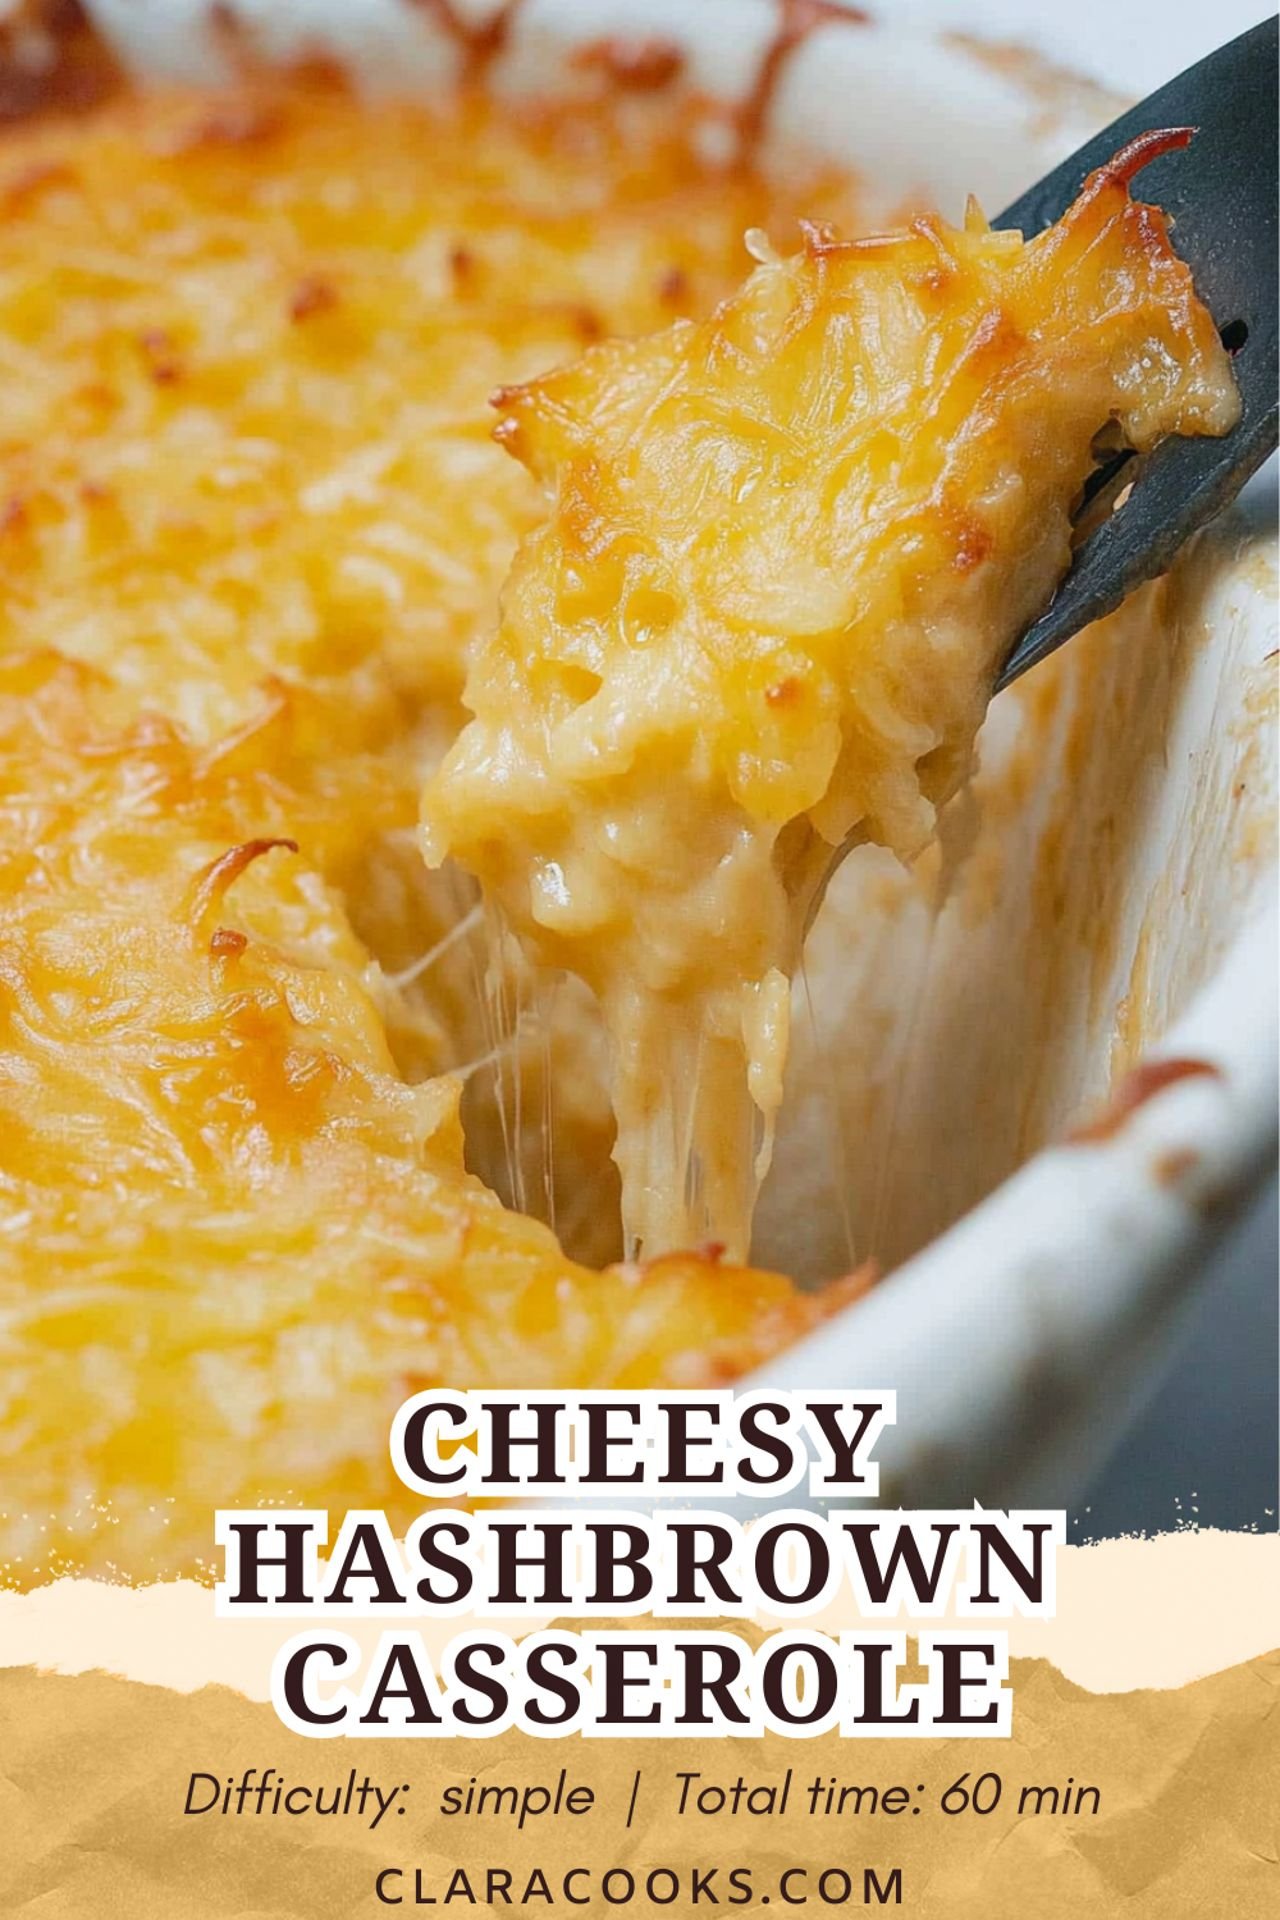
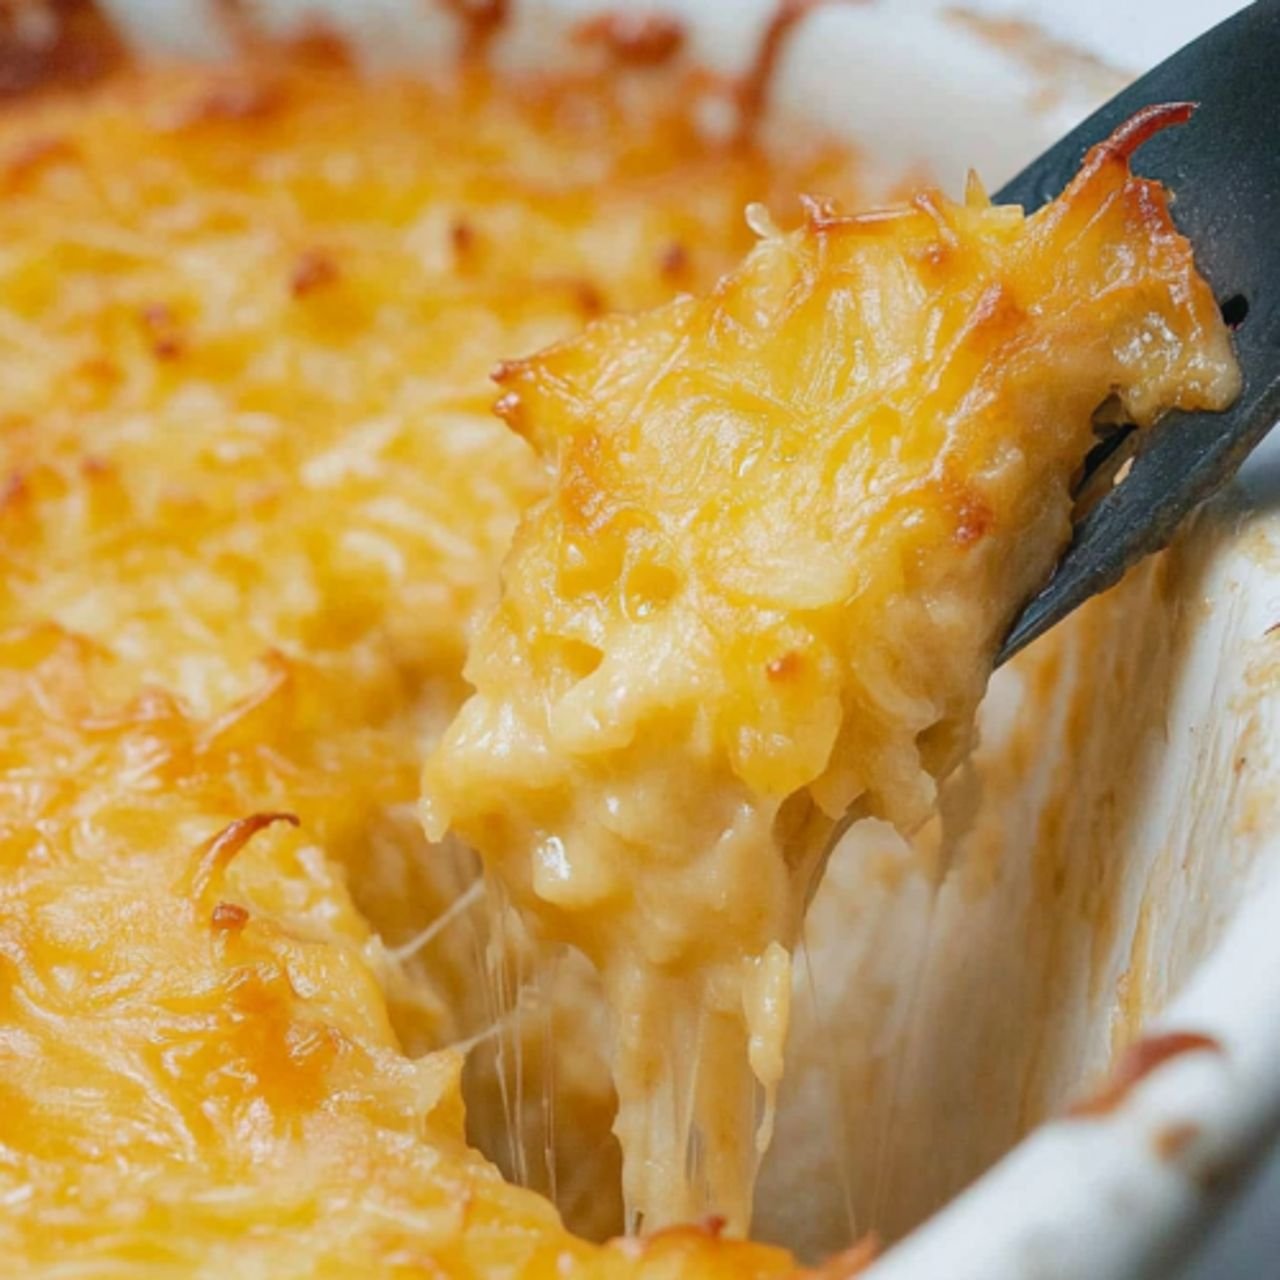
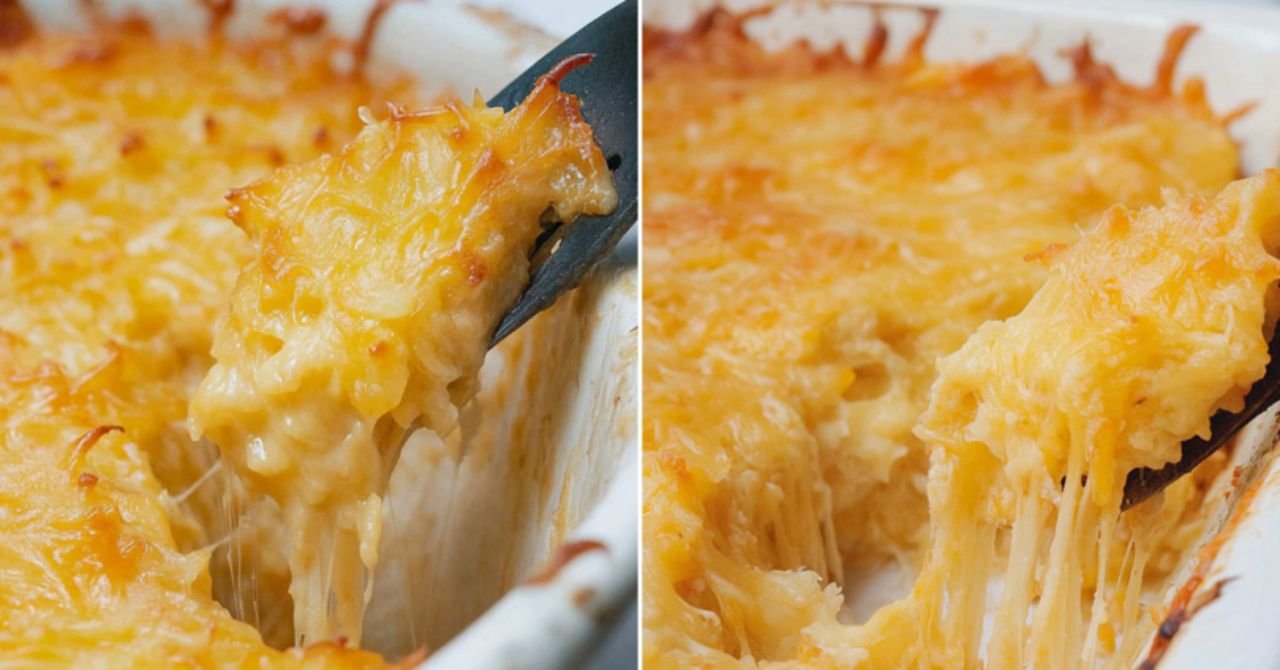
Cheesy hashbrown casseroles are the epitome of comfort food. At Clara Cooks, we love recipes that are both nostalgic and practical. The creamy texture, melted cheese, and golden-brown topping make this casserole irresistible. It’s the perfect combination of flavors and textures that will leave everyone asking for seconds.

Tips for Making the Perfect Hashbrown Casserole
For the best results, ensure your hashbrowns are thawed and patted dry to avoid excess moisture. Mixing the ingredients thoroughly guarantees even distribution of flavors. If you want an extra crispy topping, sprinkle crushed cornflakes or breadcrumbs mixed with melted butter before baking.
Creative Variations to Try
While this recipe is already a hit, you can customize it to suit your taste. Swap out the cream of chicken soup for cream of mushroom to make it vegetarian. Add diced ham, cooked bacon, or chopped bell peppers for extra flavor and texture. The possibilities are endless!
Pairing Suggestions for Your Meal
Cheesy hashbrown casserole pairs beautifully with almost any main dish. Serve it alongside roasted chicken, grilled steak, or a fresh green salad for a balanced meal. For a hearty breakfast spread, complement it with scrambled eggs and sausage links.
Frequently Asked Questions
Can I make this casserole ahead of time? Yes! You can assemble the casserole the night before, cover it, and refrigerate. Just bake it the next day as instructed.
Can I freeze leftovers? Absolutely. Store leftovers in an airtight container in the freezer for up to three months. Reheat in the oven for the best texture.
Is there a way to make it lighter? Substitute sour cream with Greek yogurt and use reduced-fat cheese for a lighter version of this dish.
For more delicious recipes like this, visit Clara Cooks.
Cheesy Hashbrown Casserole
Ingredients
- 1 bag (30 oz) frozen shredded hashbrowns, thawed
- 2 cups shredded cheddar cheese
- 1 can (10.5 oz) cream of chicken soup
- 1 cup sour cream
- 1/2 cup melted butter
- 1/4 cup chopped onion
- 1 tsp salt
- 1/2 tsp pepper
Instructions
- Preheat the oven to 350°F (175°C) and grease a 9×13-inch baking dish.
- In a large mixing bowl, combine the cream of chicken soup, sour cream, melted butter, salt, and pepper.
- Stir in the hashbrowns, cheddar cheese, and chopped onion until well combined.
- Spread the mixture evenly into the prepared baking dish.
- Bake in the preheated oven for 45 minutes or until golden and bubbly.
- Let cool slightly before serving.



Leave a Comment