
Table of Contents
- Introduction to Cheesy Christmas Tree Bread
- Why This Recipe is Perfect for the Holidays
- The Secret to Making Cheesy Bread
- Tips for Shaping the Perfect Christmas Tree
- Serving Suggestions for Festive Occasions
- Final Thoughts on Holiday Appetizers
Key Takeaways
This Cheesy Christmas Tree Bread is a festive holiday appetizer that’s simple to prepare, packed with gooey cheese, and perfect for any gathering. From shaping the dough to garnishing with fresh parsley, it’s a showstopper that’s as fun to make as it is to eat.

Introduction to Cheesy Christmas Tree Bread
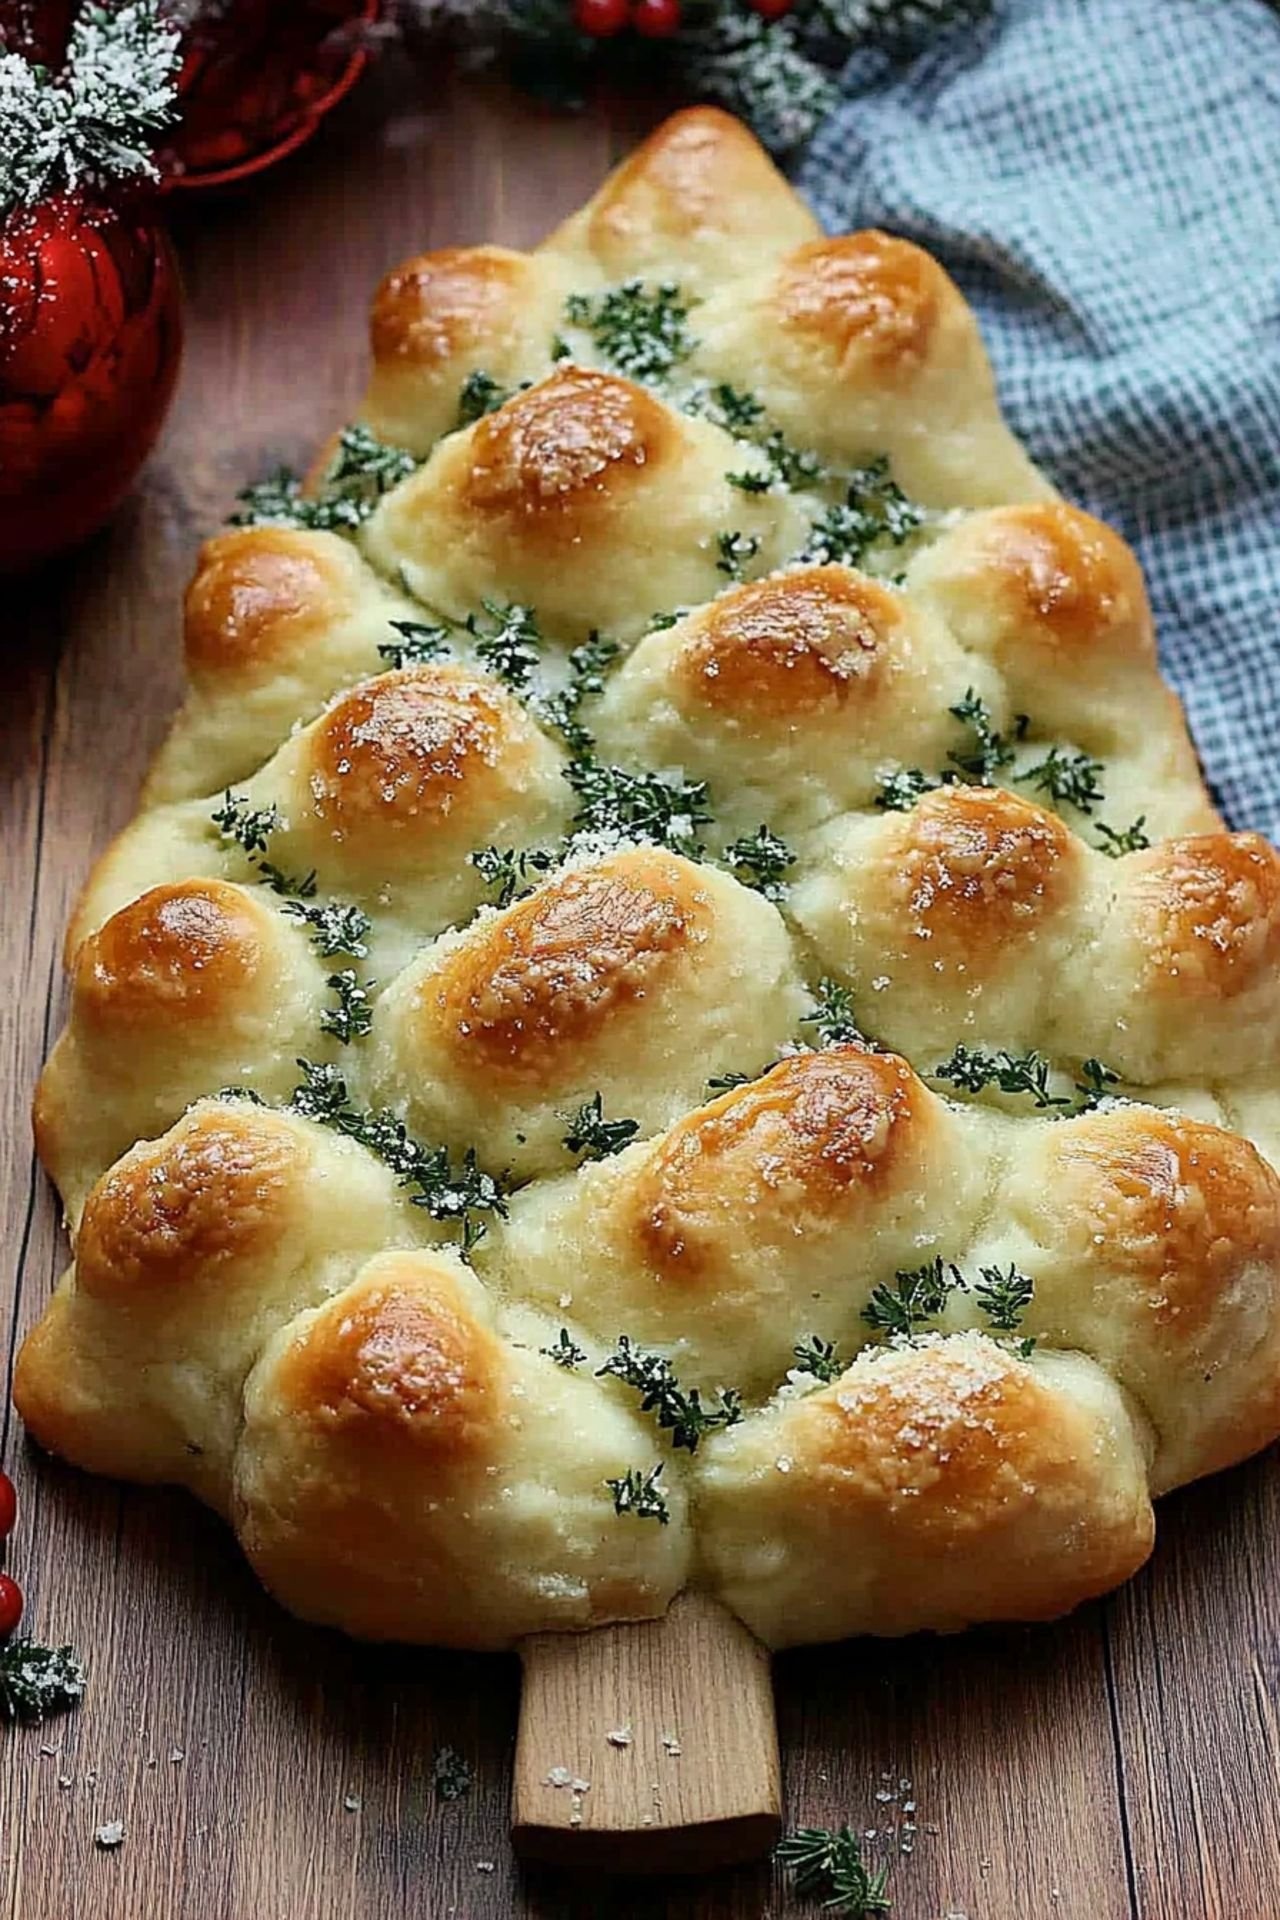
At Clara Cooks, we believe the holidays are all about bringing people together over delicious food. This Cheesy Christmas Tree Bread is a warm, cheesy delight that’s perfect for sharing. With its unique shape and irresistible flavor, it’s bound to be the centerpiece of your holiday table. Plus, it’s so easy to make, even beginners can create this festive treat!

Why This Recipe is Perfect for the Holidays
Nothing says the holidays like a recipe that combines fun, flavor, and a touch of creativity. The cheesy bread is soft, warm, and filled with melty mozzarella cheese, making it an instant crowd-pleaser. It’s also versatile—serve it as an appetizer, a side dish, or even a snack for holiday movie nights.

The Secret to Making Cheesy Bread
The secret to this cheesy bread lies in its simplicity. Using store-bought pizza dough saves time while ensuring consistent results. The combination of melted butter, garlic powder, and Parmesan cheese takes the flavor to the next level. At Clara Cooks, we recommend using fresh mozzarella for the best gooey, cheesy texture.
Tips for Shaping the Perfect Christmas Tree
Shaping the bread into a Christmas tree may seem tricky, but it’s easier than you think! Start by arranging the dough balls in a triangular shape, working from the base to the tip. Don’t forget to leave enough space between the balls for them to expand while baking. This small detail ensures your tree looks as good as it tastes.
Serving Suggestions for Festive Occasions
Serve this cheesy bread with a side of warm marinara sauce for dipping, and watch as it disappears in minutes. It pairs beautifully with holiday cocktails, a glass of wine, or even a festive punch. For a fun twist, add a sprinkle of red pepper flakes or Italian seasoning before baking.
Final Thoughts on Holiday Appetizers
Cheesy Christmas Tree Bread isn’t just a recipe; it’s an experience. From shaping the dough to sharing it with loved ones, it’s a holiday tradition waiting to happen. Visit Clara Cooks at Clara Cooks for more festive recipes and holiday inspiration!

Cheesy Christmas Tree Bread
Ingredients
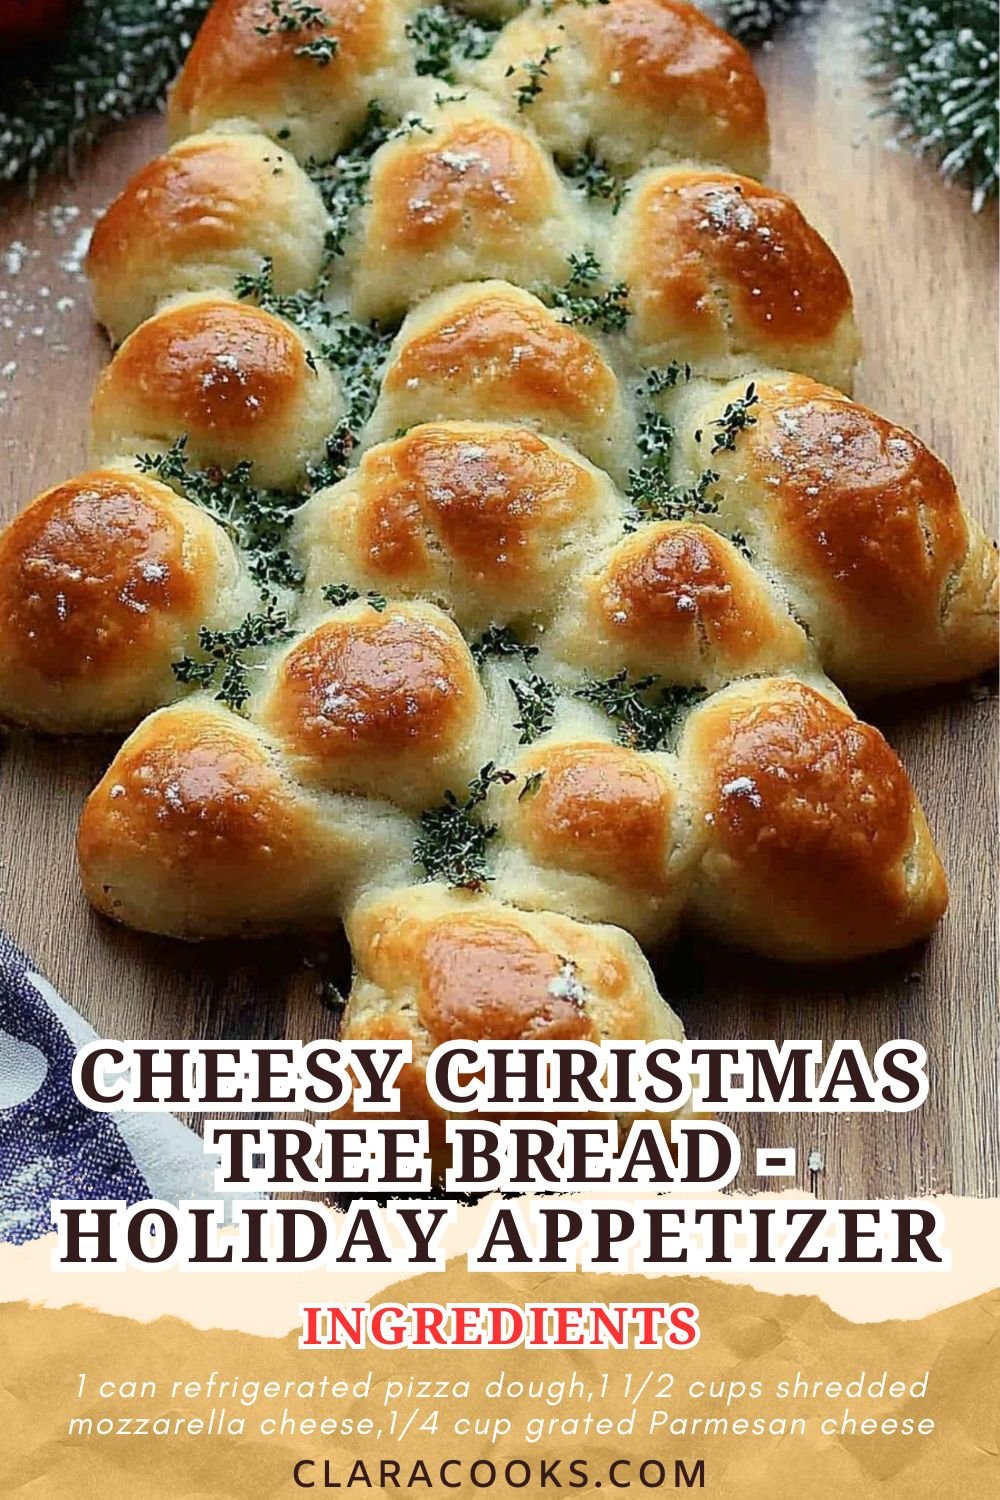
- 1 can refrigerated pizza dough
- 1 1/2 cups shredded mozzarella cheese
- 1/4 cup grated Parmesan cheese
- 2 tablespoons melted butter
- 1 teaspoon garlic powder
- Fresh parsley, chopped (optional)
- Marinara sauce for dipping
Instructions
- Preheat the oven to 375°F (190°C). Line a baking sheet with parchment paper.
- Roll out the pizza dough and cut it into equal-sized squares.
- Place a small amount of mozzarella cheese in the center of each square, then fold and seal the dough around the cheese to form a ball.
- Arrange the dough balls in the shape of a Christmas tree on the prepared baking sheet.
- Brush the dough balls with melted butter and sprinkle with Parmesan cheese and garlic powder.
- Bake for 20-25 minutes or until golden brown.
- Garnish with fresh parsley and serve with warm marinara sauce for dipping.


Leave a Comment