Table of Contents
- Introduction: Why Christmas Cheesy Baked Ziti is a Must-Try
- The Magic of Cheesy Comfort Foods
- Perfect for Festive Gatherings
- Personal Tips from Clara
- Make It Your Own: Variations and Add-Ons
- FAQs About Christmas Cheesy Baked Ziti
Key Takeaways
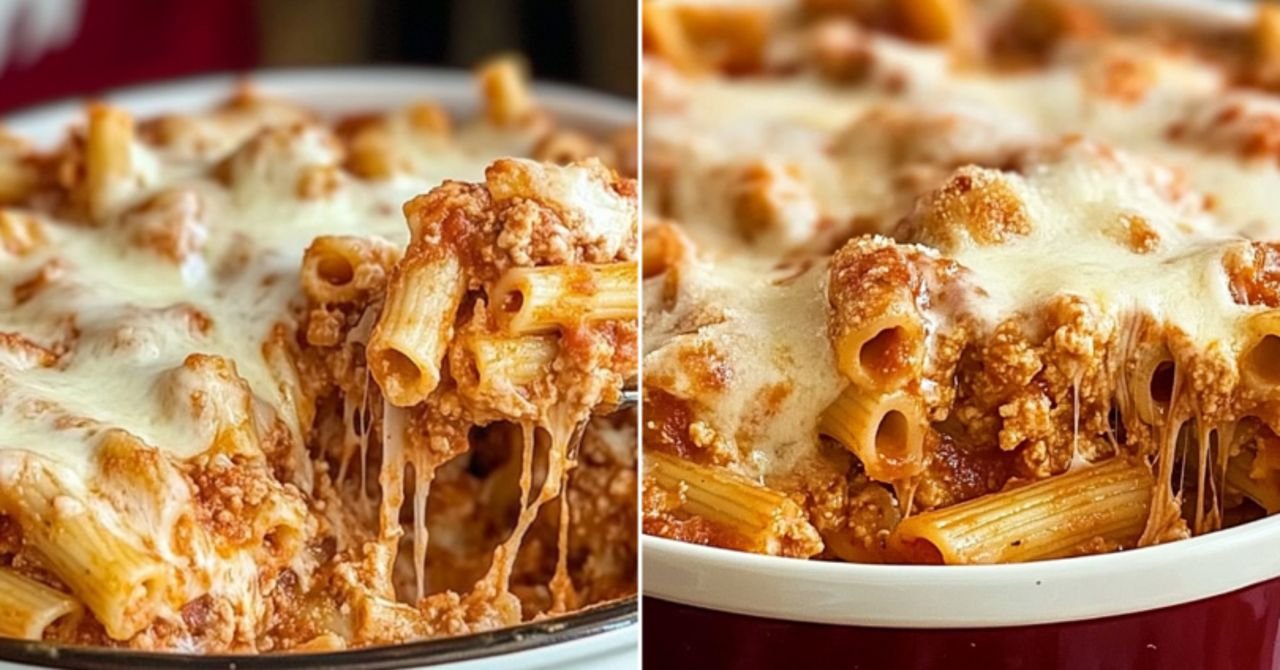
Christmas Cheesy Baked Ziti is the ultimate comfort food, blending creamy cheeses, savory pasta, and hearty ground beef into a dish perfect for holiday gatherings. This easy-to-follow recipe offers flexibility with variations and is sure to impress your guests!

Introduction: Why Christmas Cheesy Baked Ziti is a Must-Try
At Clara Cooks, we believe every holiday deserves a special dish, and Christmas Cheesy Baked Ziti delivers just that. Packed with layers of cheesy goodness and baked to perfection, it’s a crowd-pleaser that combines rich flavors with easy preparation. Whether you’re hosting a large family dinner or a cozy night in, this dish is sure to bring warmth and joy.
The Magic of Cheesy Comfort Foods
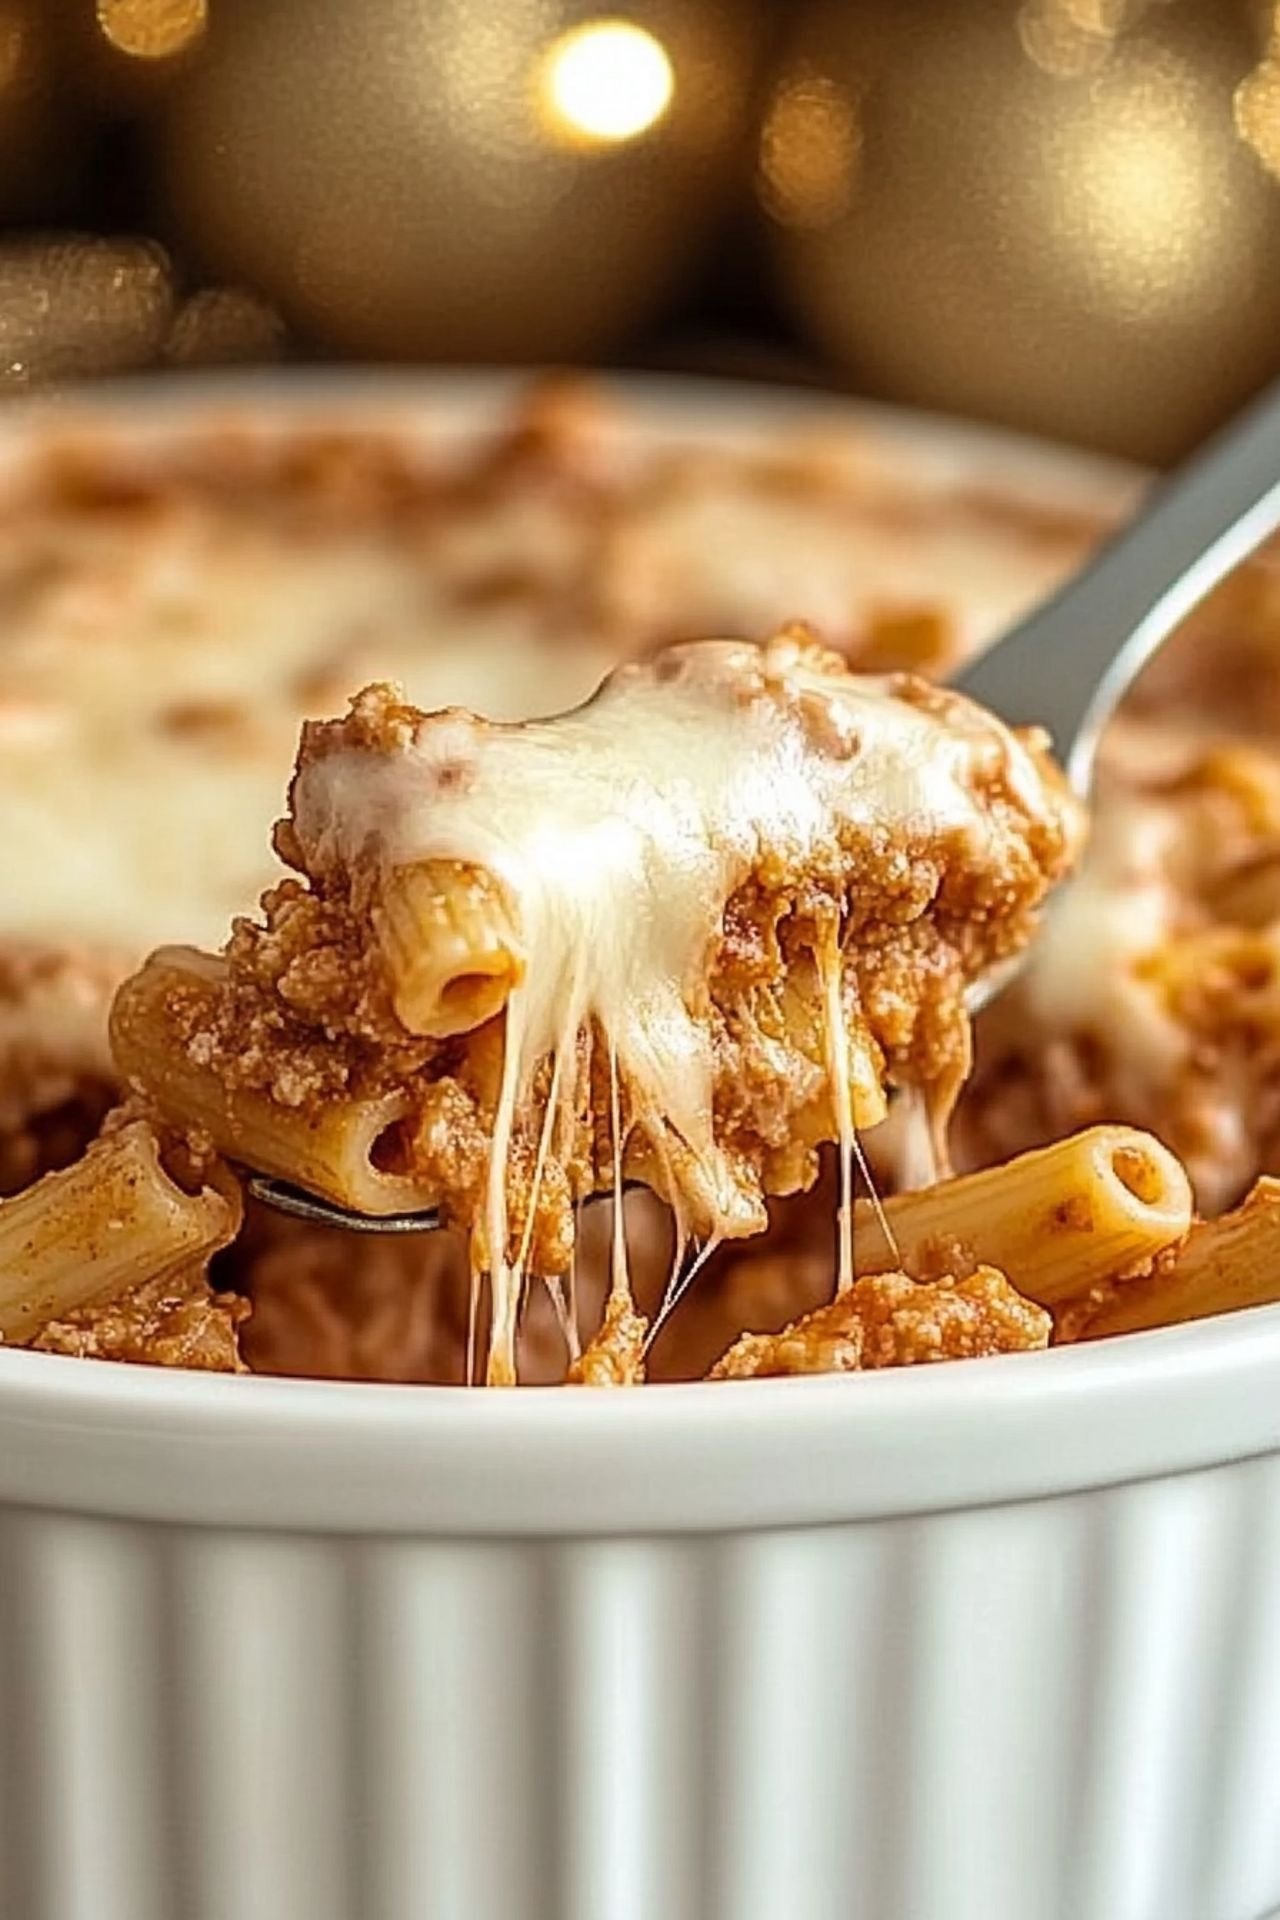
Cheesy dishes like this baked ziti have a unique way of bringing people together. The melty mozzarella, creamy ricotta, and zesty Parmesan create a harmony of flavors that feel both indulgent and comforting. It’s no wonder cheesy comfort foods are a staple for holiday meals!
Perfect for Festive Gatherings
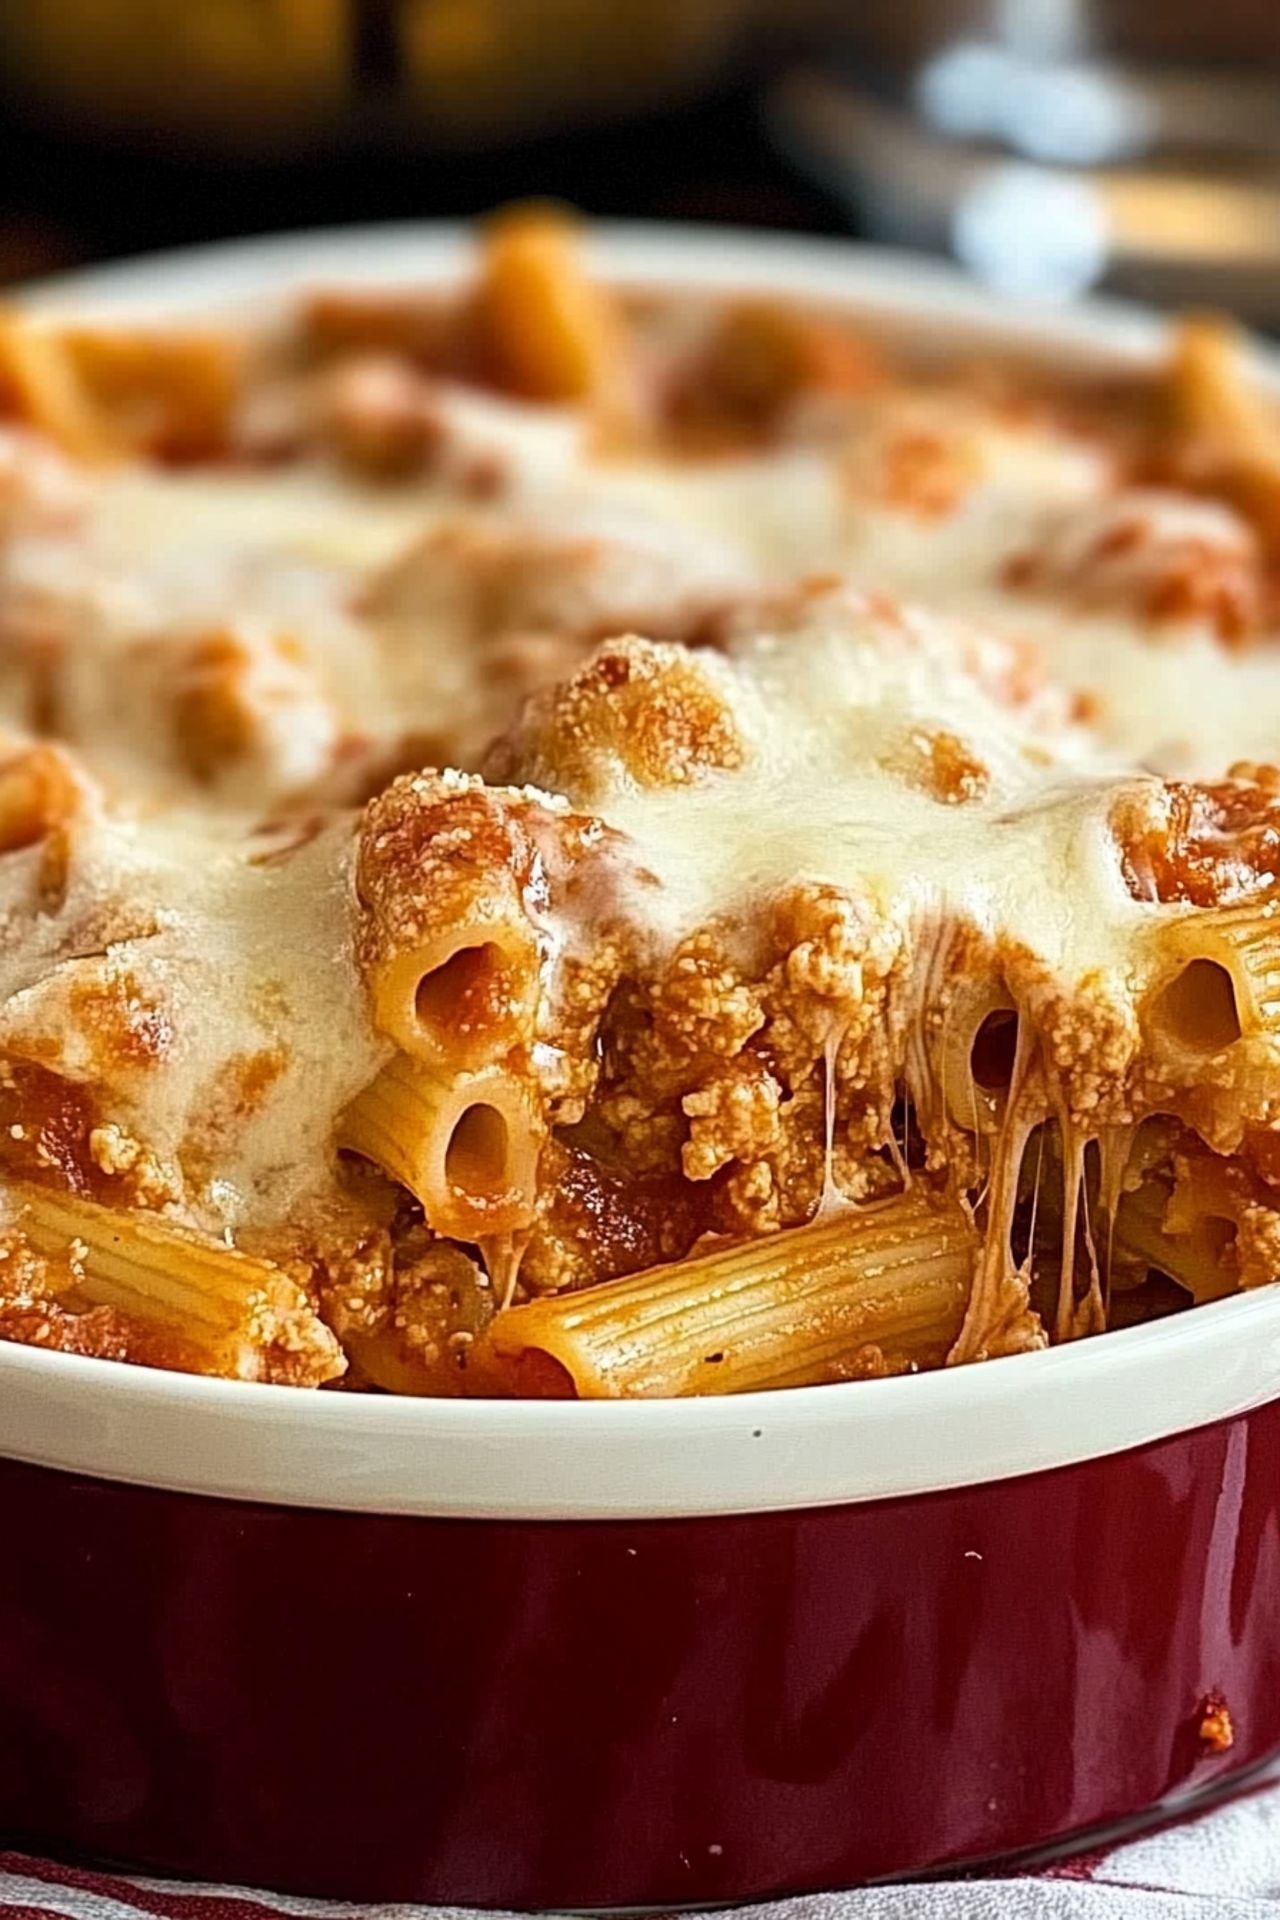
Planning a Christmas dinner? This ziti recipe is a perfect addition to your festive spread. Its vibrant flavors and hearty portions make it ideal for sharing with loved ones. Plus, it pairs wonderfully with a fresh green salad and crusty garlic bread, creating a complete holiday feast.
Personal Tips from Clara
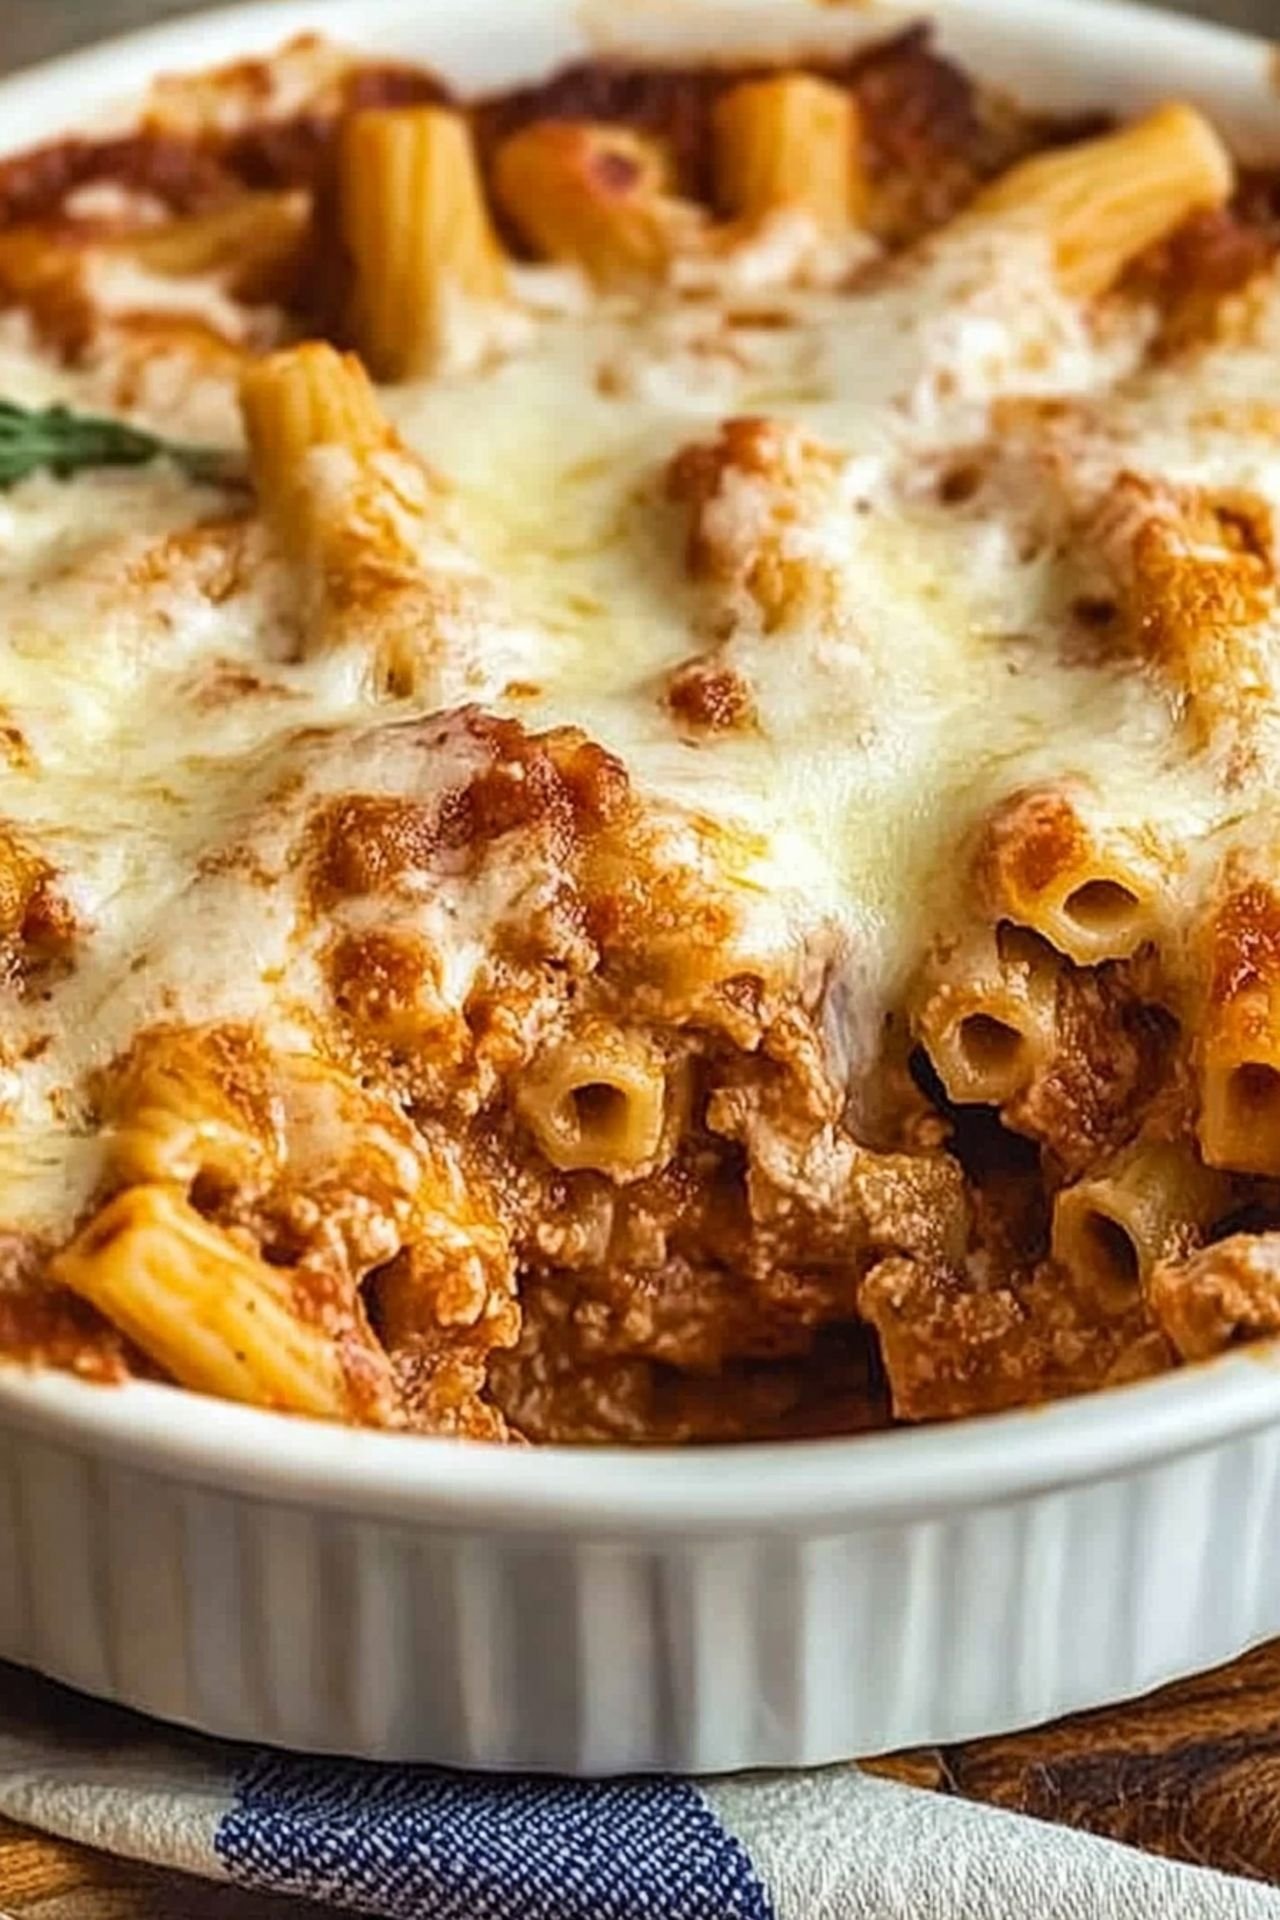
From my kitchen to yours, here are a few tips to elevate your Christmas Cheesy Baked Ziti. For a richer flavor, try adding a pinch of nutmeg to the ricotta mixture. Want a crispy topping? Sprinkle some breadcrumbs mixed with Parmesan before baking. These little touches can make all the difference!
Make It Your Own: Variations and Add-Ons
The beauty of this recipe lies in its versatility. Swap the ground beef for turkey or sausage for a different flavor profile. Vegetarian? Skip the meat altogether and add sautéed mushrooms or spinach. The possibilities are endless, making it easy to customize to your preferences.
FAQs About Christmas Cheesy Baked Ziti
Have questions? Here are some answers! Can this dish be made ahead? Absolutely—assemble it the day before and refrigerate until you’re ready to bake. How do you reheat leftovers? Cover with foil and bake at 350°F until warmed through. These simple tips will ensure your ziti stays delicious even after the holidays!
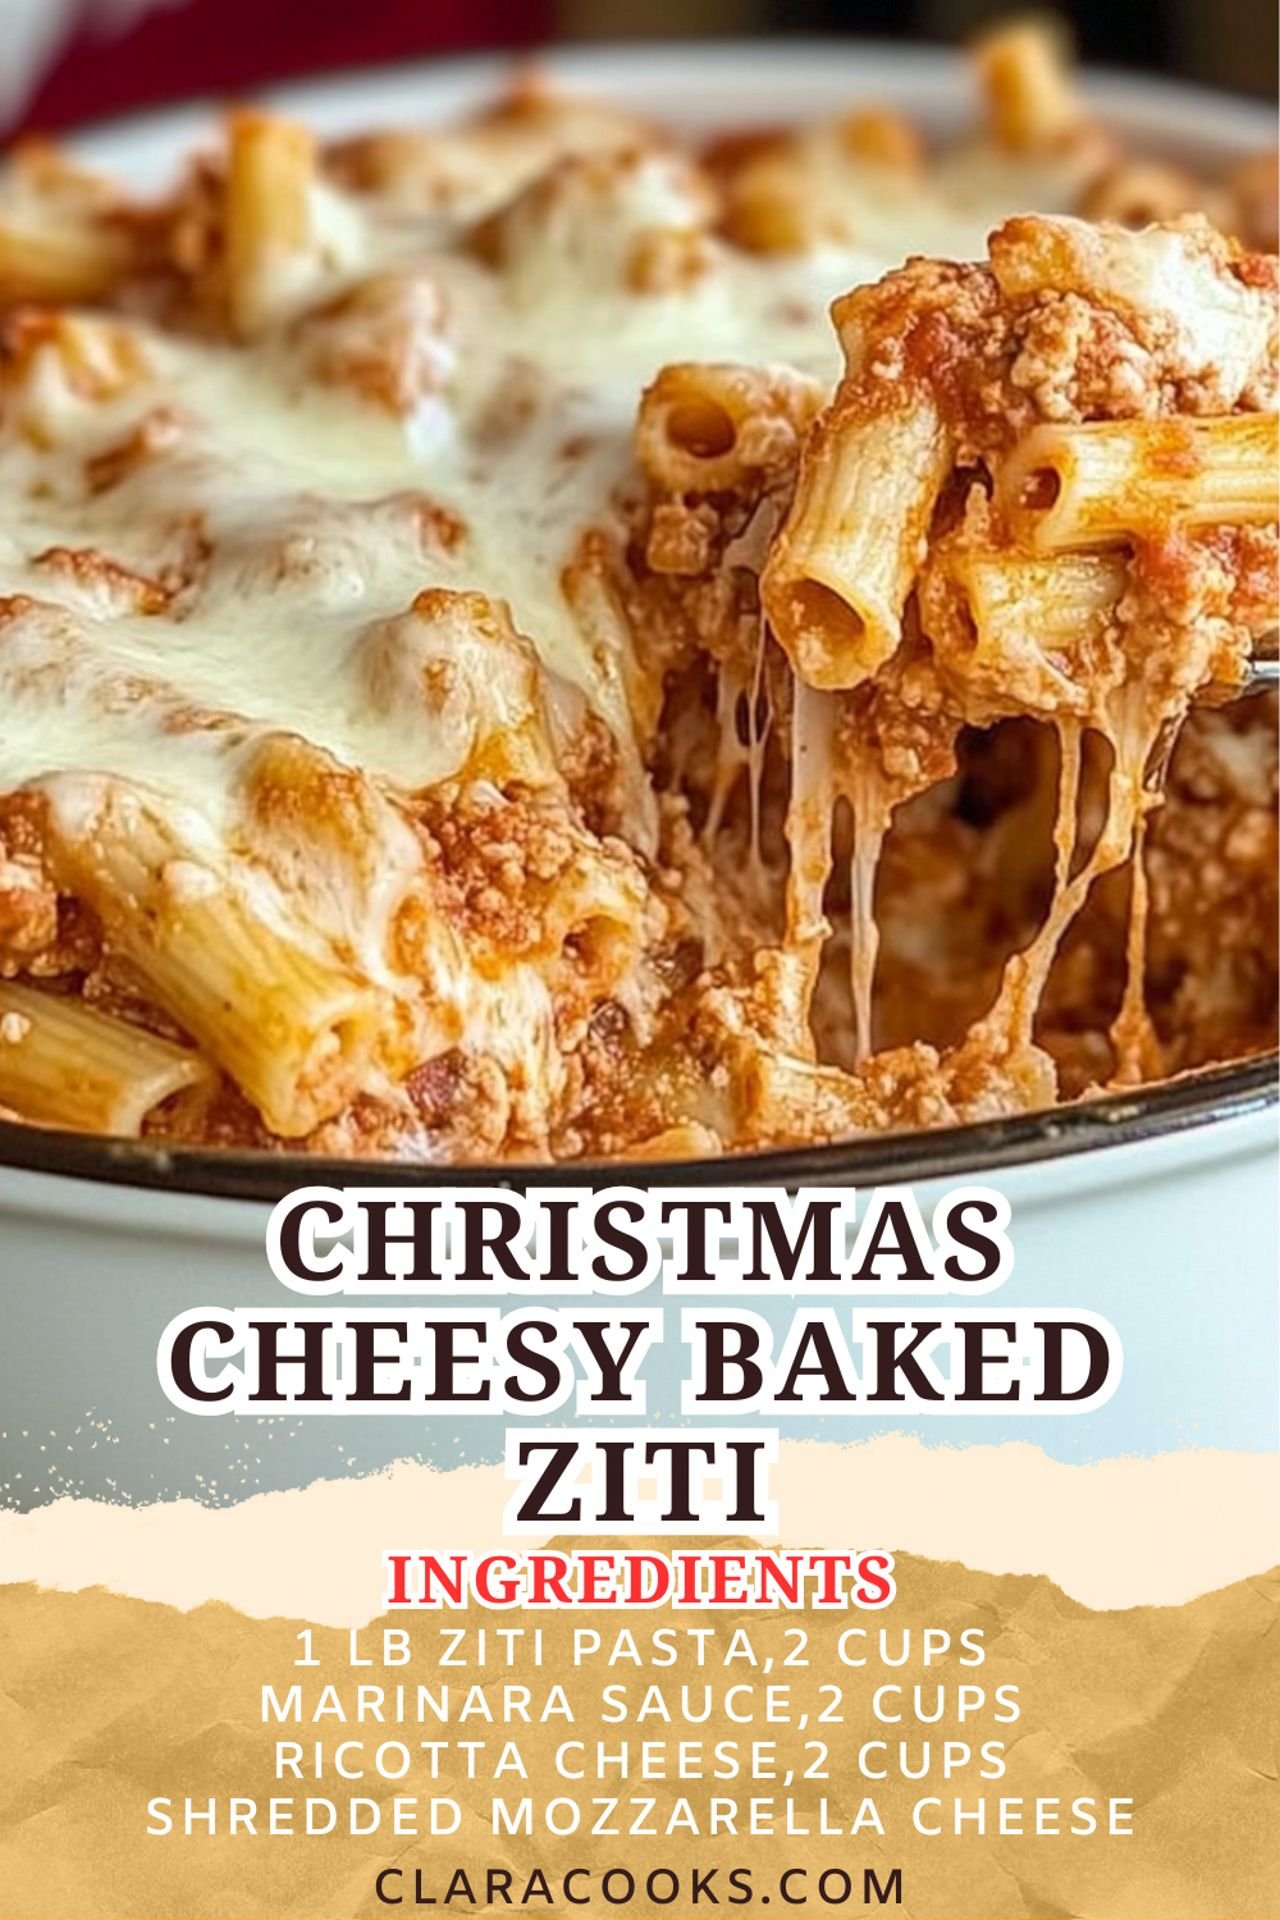

Christmas Cheesy Baked Ziti
Ingredients
- 1 lb ziti pasta
- 2 cups marinara sauce
- 2 cups ricotta cheese
- 2 cups shredded mozzarella cheese
- 1/2 cup grated Parmesan cheese
- 2 eggs
- 1 lb ground beef
- 1/2 tsp garlic powder
- 1/2 tsp onion powder
- Salt and pepper to taste
Instructions
- Preheat oven to 375°F (190°C).
- Cook ziti pasta according to package directions; drain and set aside.
- In a skillet, cook ground beef until browned. Season with garlic powder, onion powder, salt, and pepper.
- In a bowl, combine ricotta cheese, eggs, and half of the Parmesan cheese.
- Layer pasta, meat sauce, and cheese mixture in a greased baking dish. Repeat layers.
- Top with remaining mozzarella and Parmesan cheese.
- Bake for 25-30 minutes until bubbly and golden on top.
- Let rest for 10 minutes before serving.


Leave a Comment