
Table of Contents
- Why You’ll Love These Easy Garlic Bread Rolls
- The Secret to Soft & Buttery Garlic Bread Rolls
- Best Ways to Serve Garlic Bread Rolls
- Can You Make Garlic Bread Rolls Ahead of Time?
- Customizing Your Easy Bread Recipe
- How to Store and Reheat Garlic Bread Rolls
- Key Takeaways
Key Takeaways
- These easy garlic bread rolls are fluffy, buttery, and packed with flavor.
- Perfect as a side for soups, pastas, and comfort meals.
- They can be made ahead of time and stored for later use.
- Simple ingredients and quick preparation make them beginner-friendly.
Why You’ll Love These Easy Garlic Bread Rolls
Nothing beats the smell of freshly baked bread, and these easy garlic bread rolls take it to the next level. Soft, fluffy, and infused with buttery garlic goodness, they’re perfect for any meal. Whether you’re a beginner baker or an experienced home cook, this easy bread recipe will become a staple in your kitchen. Clara from Clara Cooks is excited to share this foolproof method for homemade garlic rolls that taste just like those from your favorite bakery.
The Secret to Soft & Buttery Garlic Bread Rolls
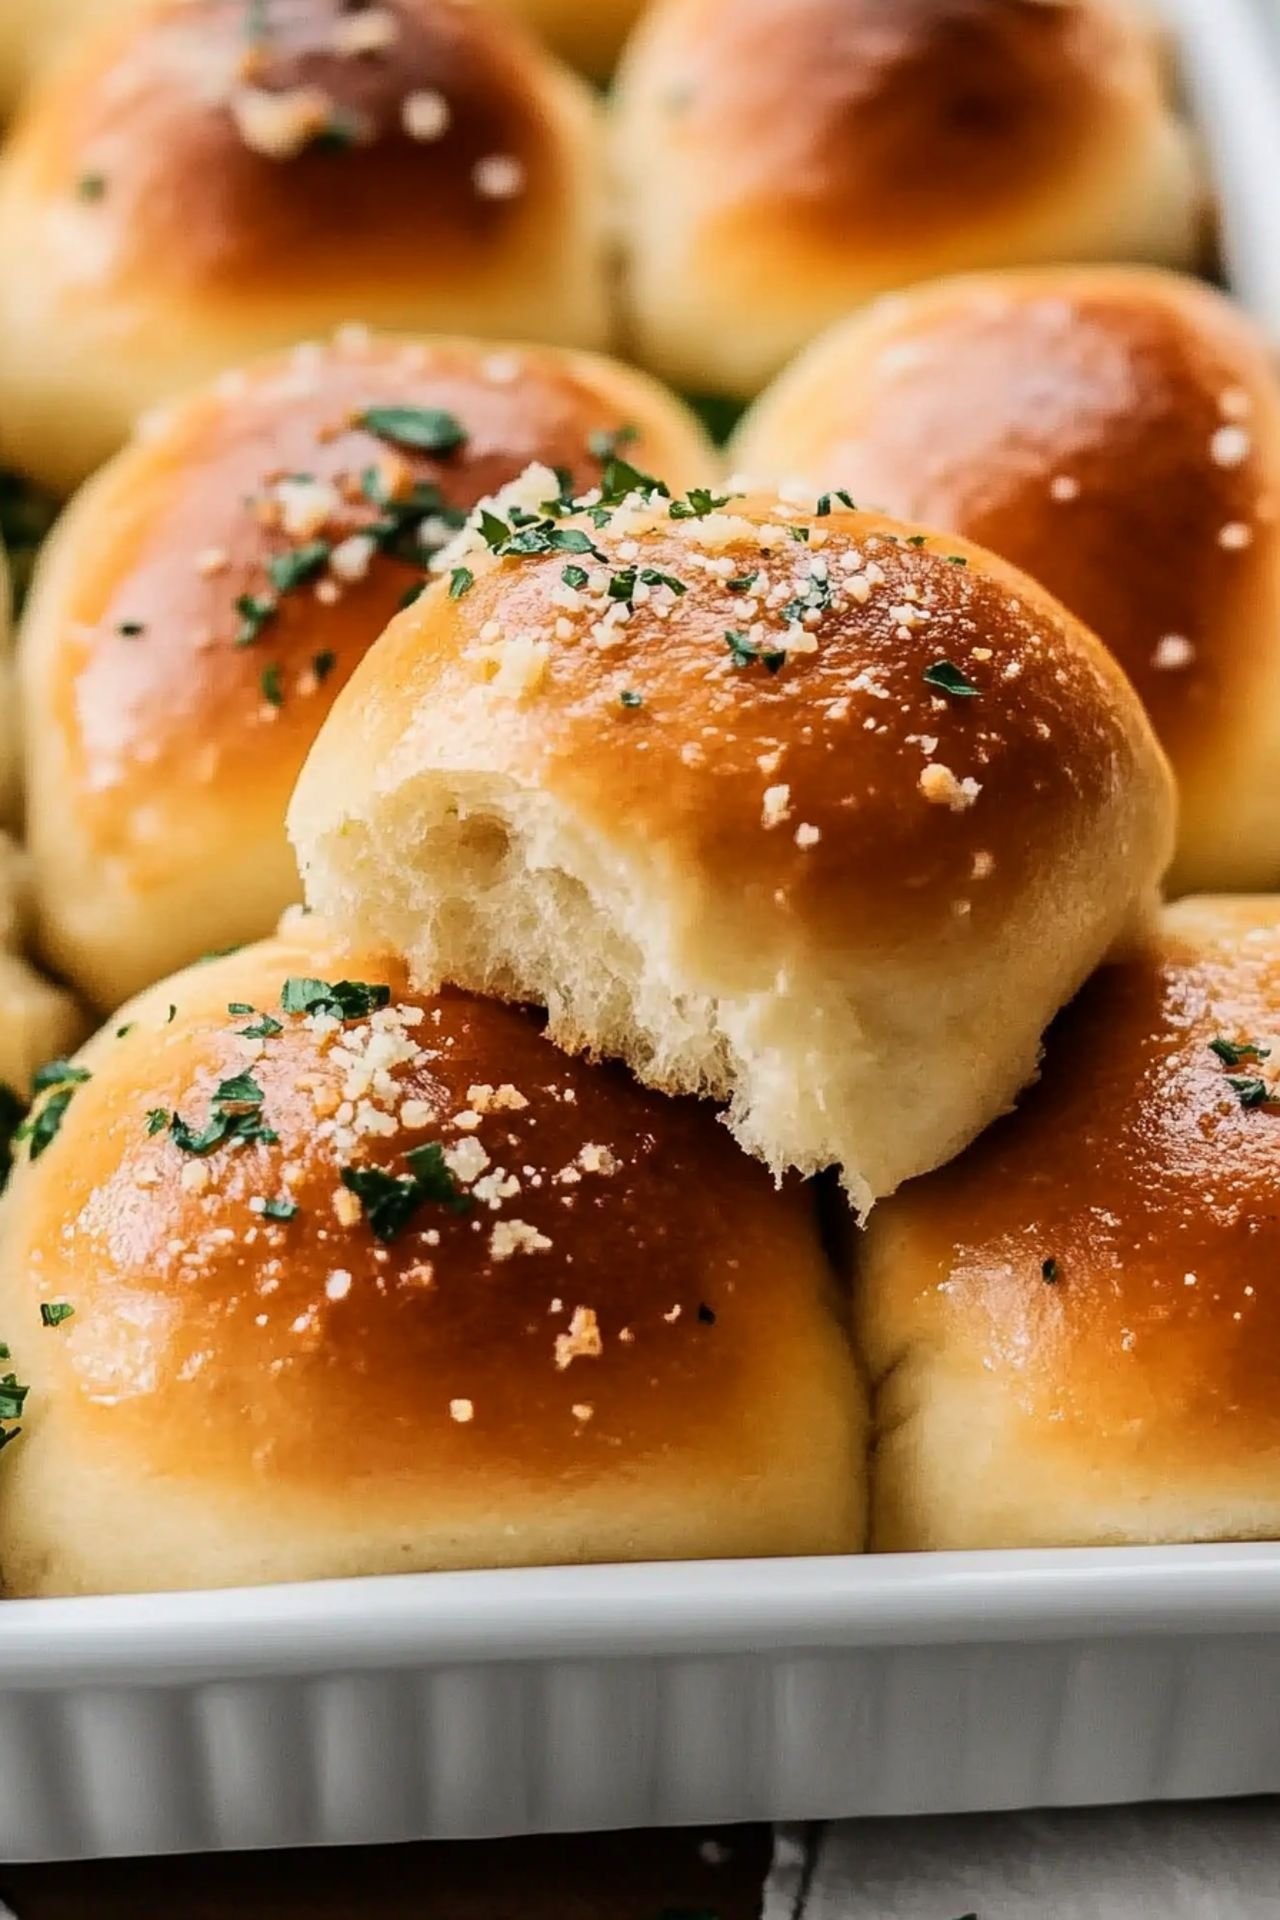
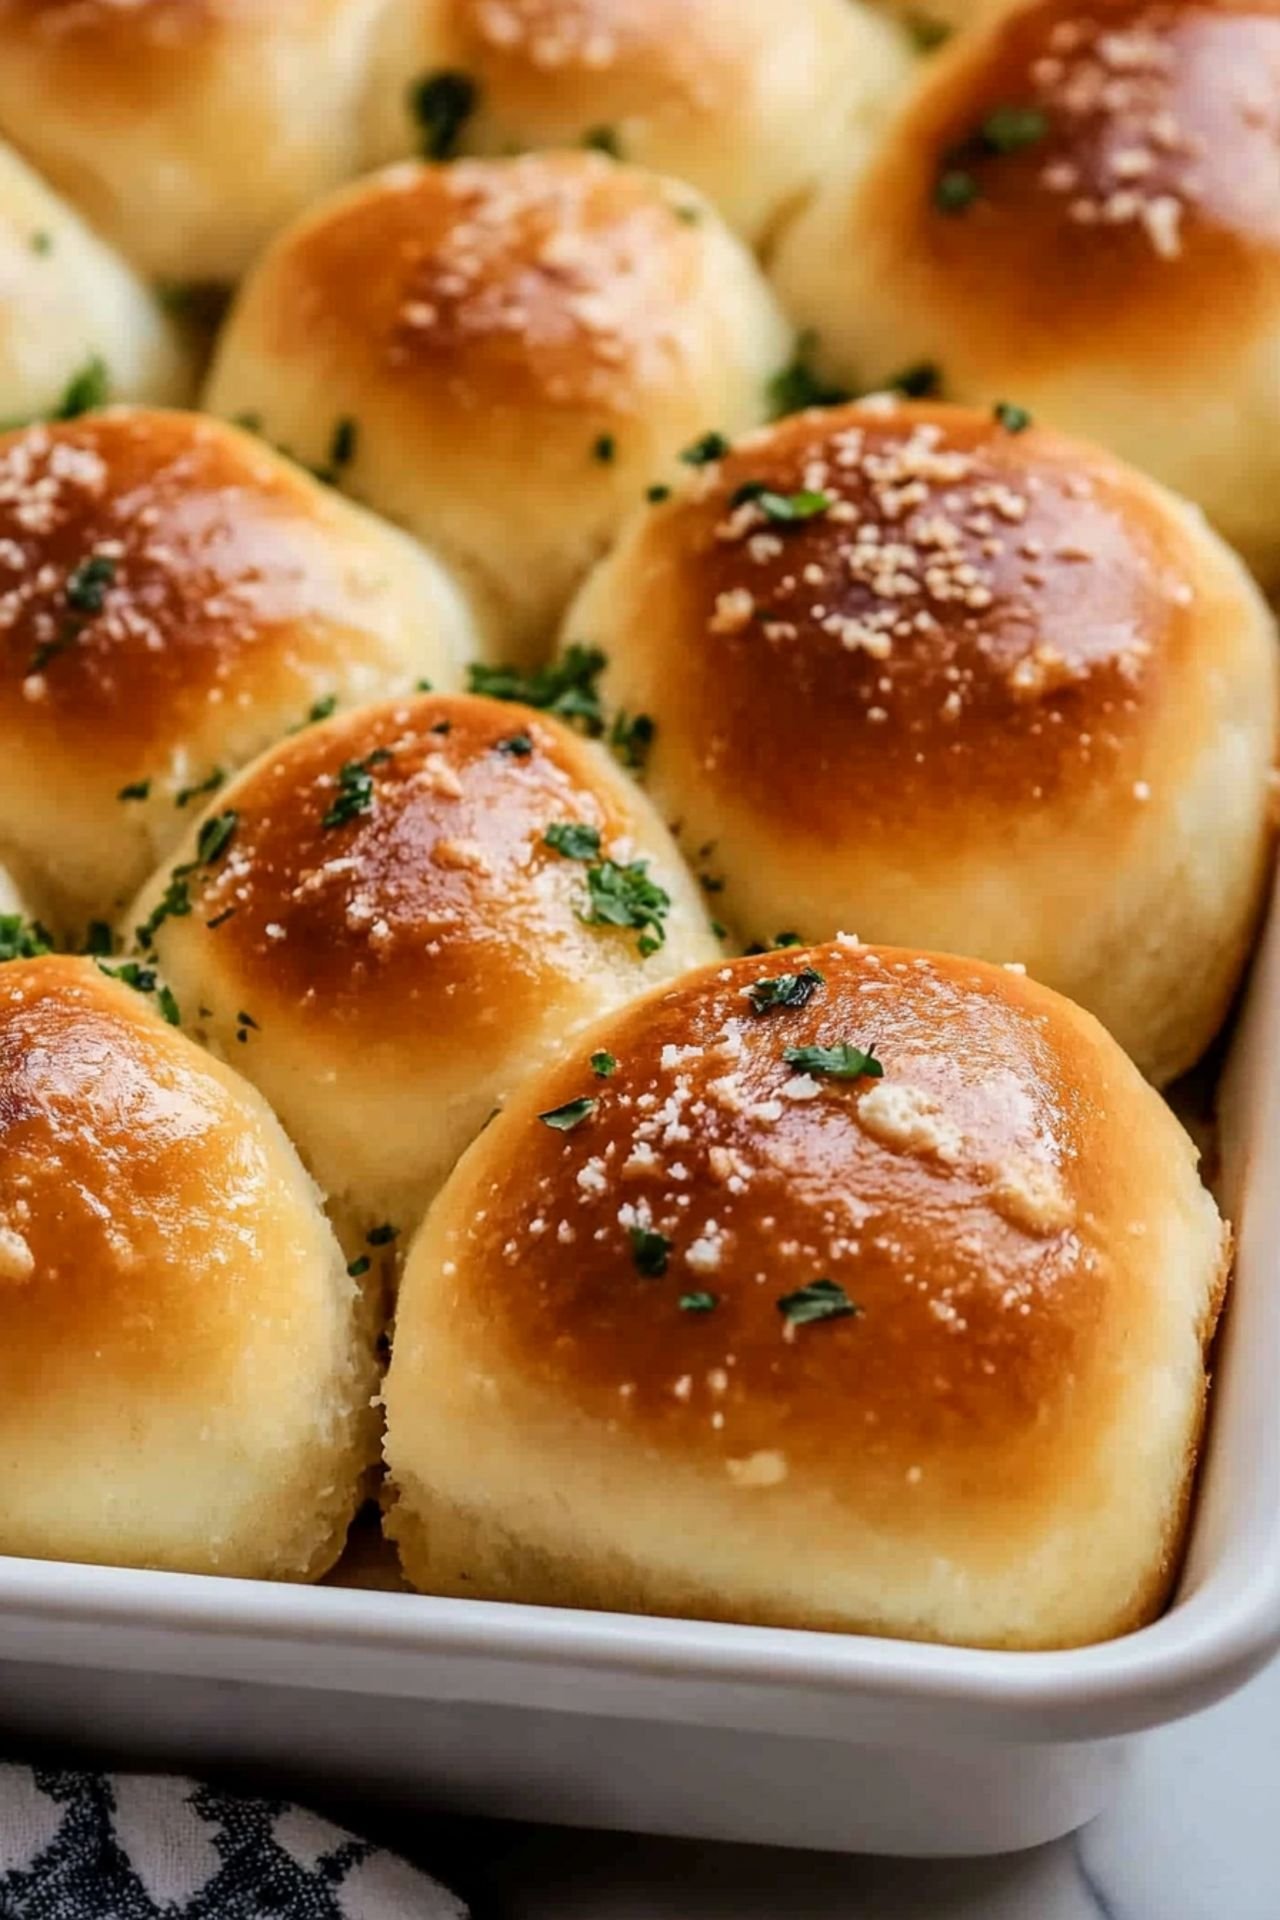
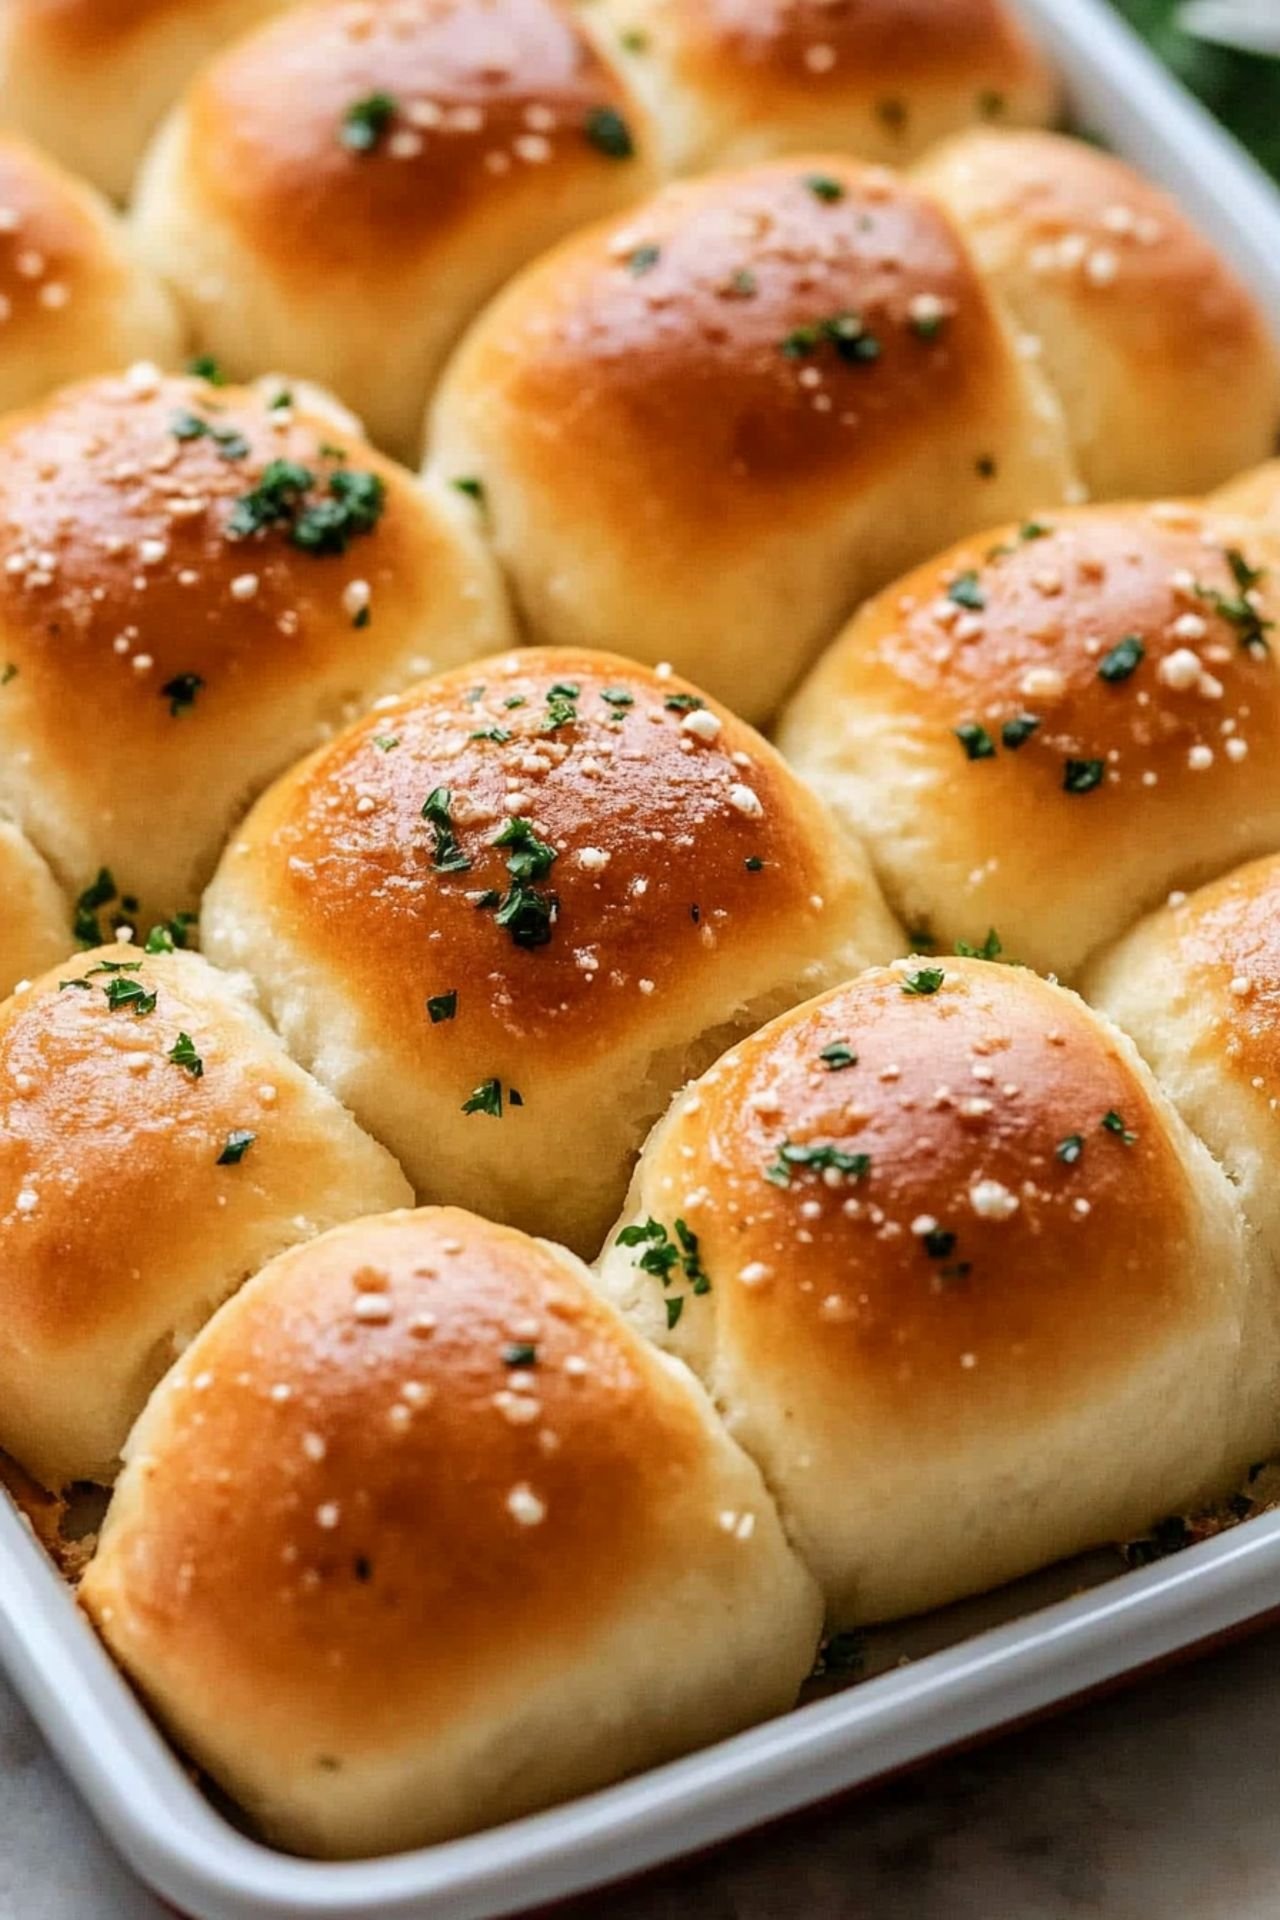
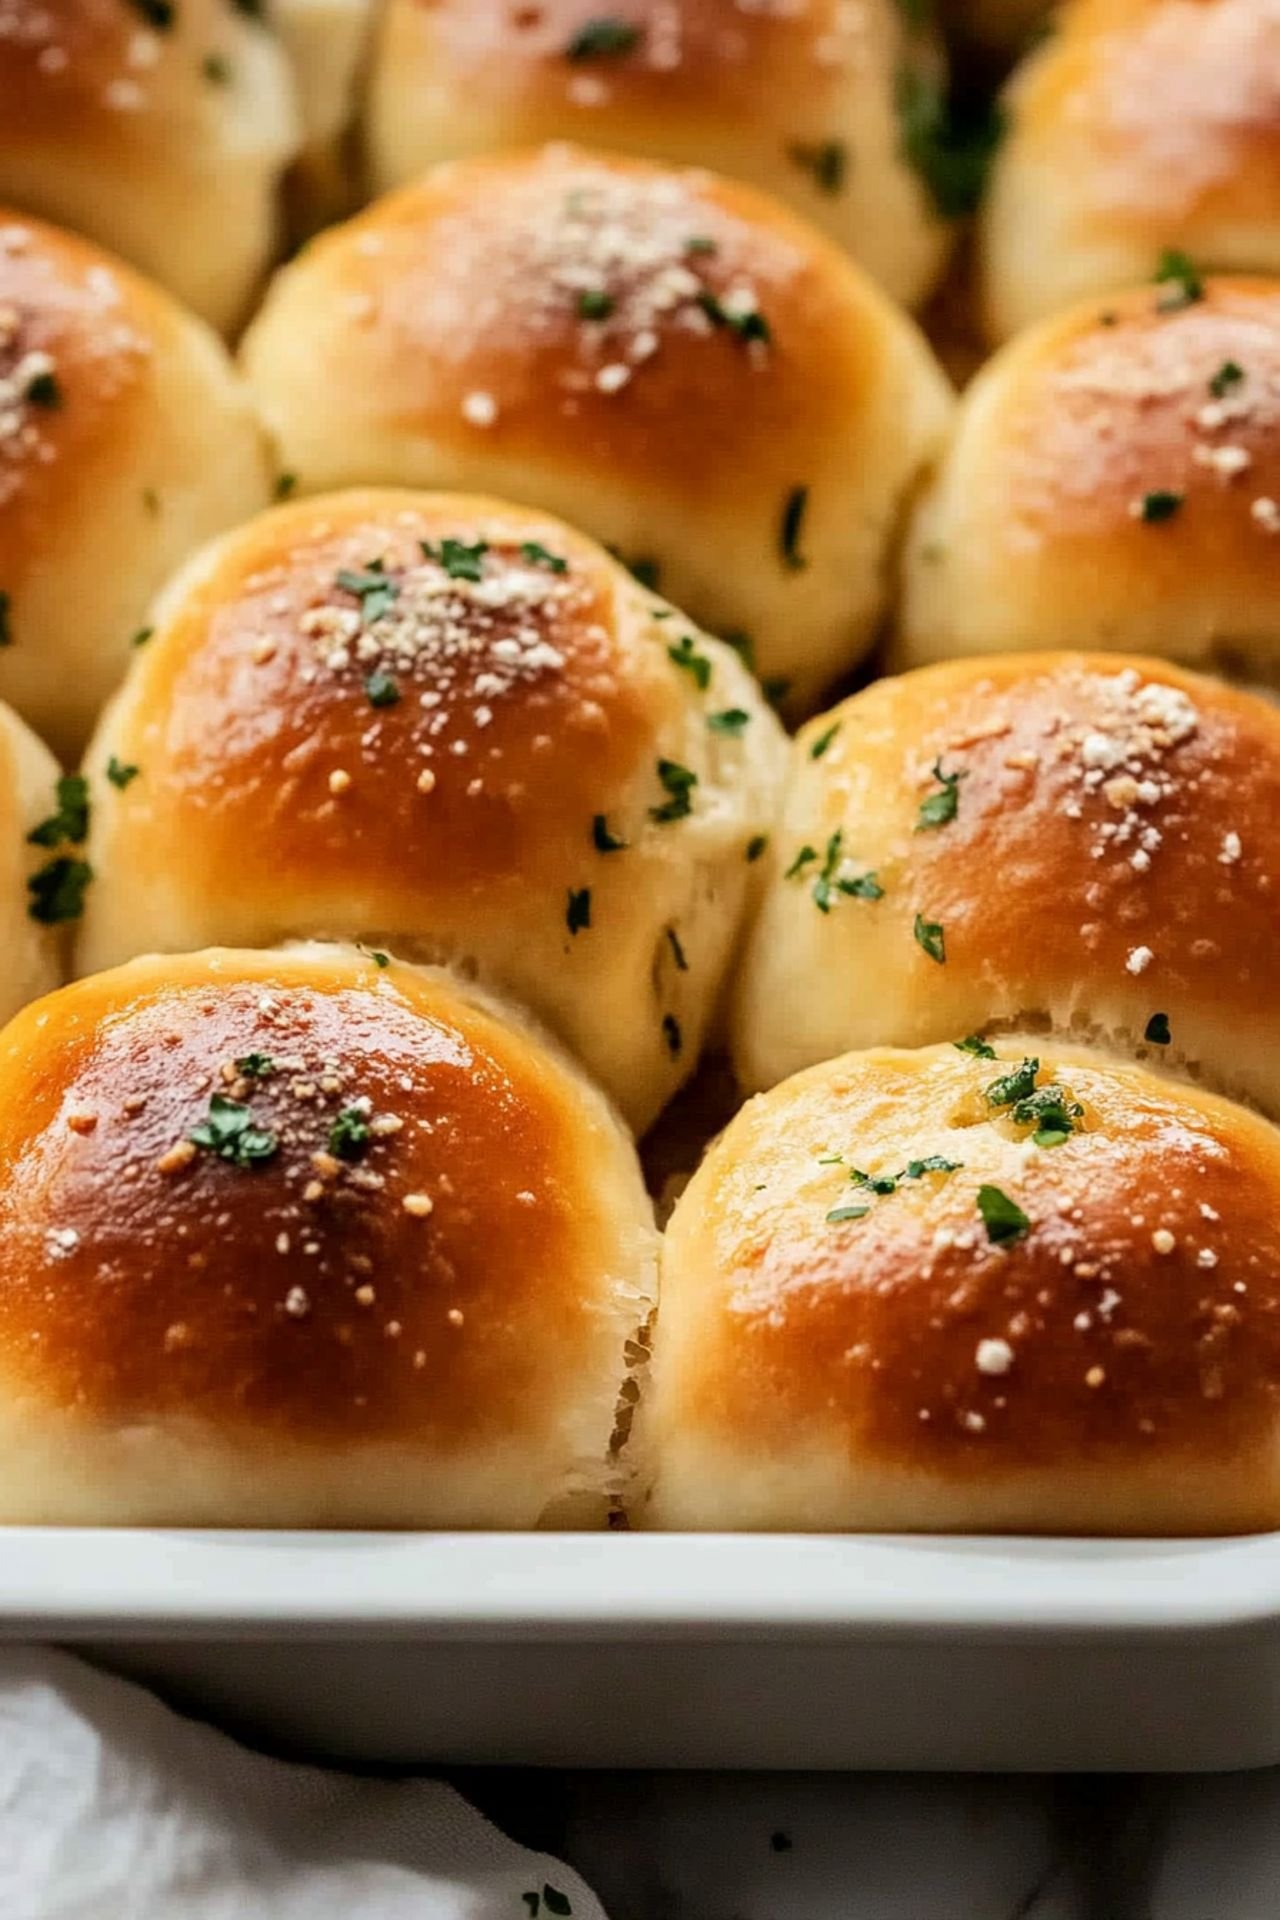
The key to achieving the perfect texture in these rolls lies in two simple factors: proper dough kneading and letting the yeast work its magic. Allowing the dough to rise fully results in a light, airy structure that melts in your mouth. Plus, brushing the rolls with melted butter and garlic before and after baking adds an irresistible flavor boost.
Best Ways to Serve Garlic Bread Rolls
These easy homemade recipes are the perfect side for pasta dishes, soups, or even a hearty salad. Serve them warm with a bowl of tomato soup or alongside a cheesy lasagna for a comforting meal. You can also slice them open and use them as a base for mini sandwiches or sliders.
Can You Make Garlic Bread Rolls Ahead of Time?
Yes! If you love meal prepping, these garlic bread rolls can be made ahead. Simply prepare the dough, let it rise, and shape the rolls. Instead of baking immediately, cover them and store them in the fridge for up to 24 hours. When ready, let them come to room temperature and bake as directed. This trick works great for holiday gatherings when you need fresh bread with minimal effort.
Customizing Your Easy Bread Recipe
One of the best parts about this recipe is how easily you can customize it. Want an herby twist? Add rosemary or Italian seasoning to the dough. Looking for a cheesy upgrade? Sprinkle shredded mozzarella or parmesan on top before baking. If you enjoy a little heat, a dash of red pepper flakes will give your garlic bread a mild kick.
How to Store and Reheat Garlic Bread Rolls
Storing these rolls properly will keep them soft and delicious for days. Place them in an airtight container at room temperature for up to three days, or freeze them for up to two months. To reheat, simply pop them in a preheated oven at 350°F for 5-7 minutes or warm them in the microwave for 20 seconds.
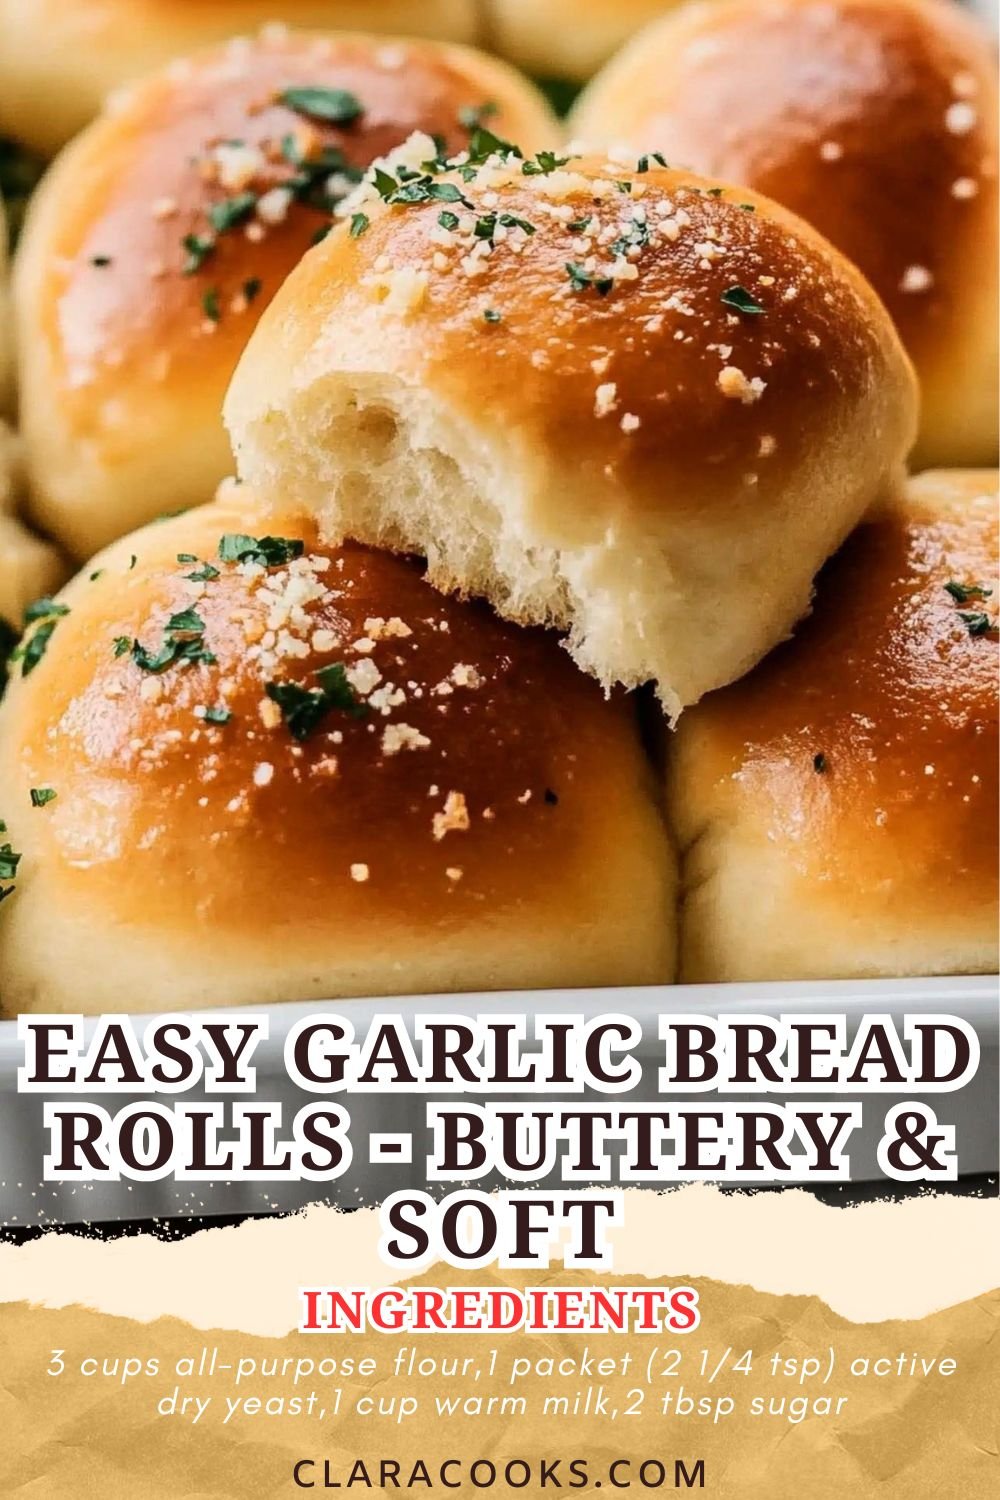

Easy Garlic Bread Rolls – Soft & Buttery
Ingredients
- 3 cups all-purpose flour
- 1 packet (2 1/4 tsp) active dry yeast
- 1 cup warm milk
- 2 tbsp sugar
- 1/2 tsp salt
- 3 tbsp butter, melted
- 3 cloves garlic, minced
- 1/2 tsp dried parsley
- 1/4 tsp black pepper
- 1/4 cup grated parmesan (optional)
Instructions
- In a large bowl, dissolve sugar in warm milk and sprinkle yeast over it. Let sit for 5-10 minutes until foamy.
- Stir in flour and salt, then knead until a smooth dough forms (about 8 minutes).
- Cover the dough and let it rise in a warm place for about an hour or until doubled in size.
- Preheat oven to 375°F (190°C).
- Divide the dough into equal portions and shape into rolls. Place on a greased baking sheet.
- Mix melted butter, minced garlic, parsley, and black pepper. Brush over the rolls.
- Bake for 15-18 minutes or until golden brown.
- Optional: Sprinkle with grated parmesan before serving.


Leave a Comment