
This creamy, dairy-free Vanilla Coconut Ninja Creami Ice Cream is the perfect treat for warm days or whenever you need a sweet, healthy indulgence. Made with just a few clean ingredients, it’s a breeze to prepare and customize. Whether you’re craving a solo dessert or serving guests, this easy recipe ninja creami will become a go-to. Packed with flavor and free from dairy, it’s perfect for anyone with sensitivities or looking for a better-for-you sweet treat. Keywords include: easy recipes ninja creami, chicken stirfry easy recipe, cheesey potatoes easy recipe, butter swim biscuits easy recipes, easy recipes for dinner, air fryer cookies easy recipes, food receipt easy recipes.

Table of Contents
- 1) Key Takeaways
- 2) Easy Vanilla Coconut Ninja Creami Ice Cream Recipe
- 3) Ingredients for Vanilla Coconut Ninja Creami Ice Cream
- 4) How to Make Vanilla Coconut Ninja Creami Ice Cream
- 5) Tips for Making Vanilla Coconut Ninja Creami Ice Cream
- 6) Making Vanilla Coconut Ninja Creami Ice Cream Ahead of Time
- 7) Storing Leftover Vanilla Coconut Ninja Creami Ice Cream
- 8) Try these Desserts next!
- 9) Vanilla Coconut Ninja Creami Ice Cream Recipe
- 10) Nutrition
1) Key Takeaways
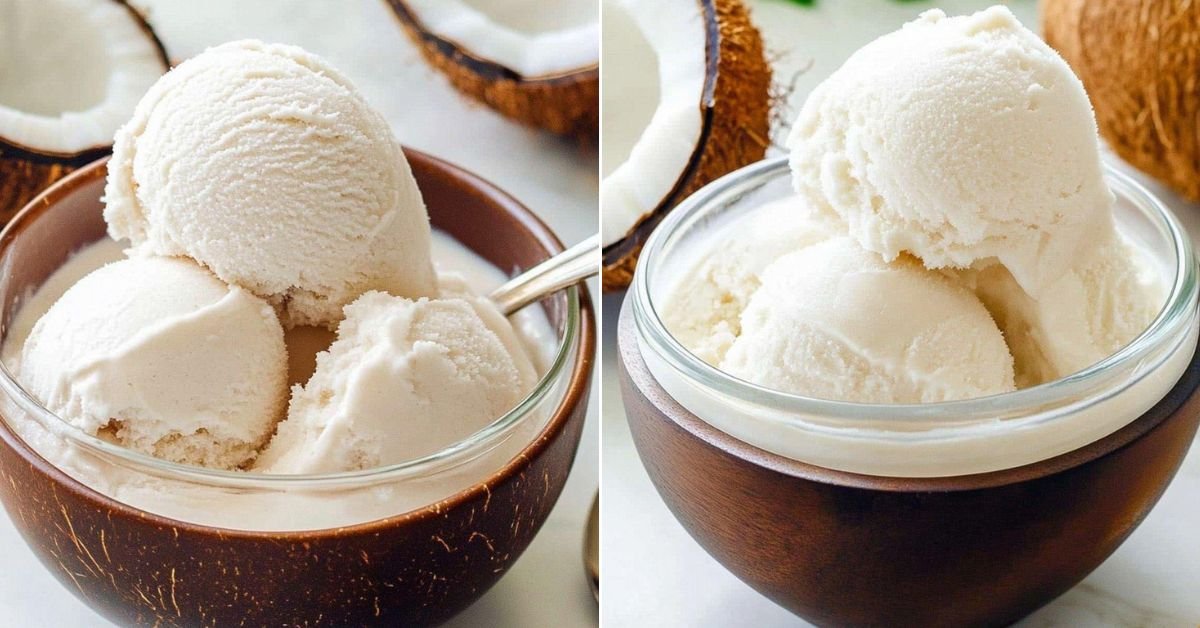
- Uses full-fat coconut milk and almond milk for a rich, dairy-free texture
- Prepared with a Ninja Creami – perfect for quick and easy recipes
- Freezer-friendly and great for make-ahead treats
- Perfect for those on a dairy-free, gluten-free, or plant-based diet
- Just a handful of clean ingredients needed for this easy recipes ninja creami dessert
2) Easy Vanilla Coconut Ninja Creami Ice Cream Recipe
When it comes to satisfying your sweet tooth while sticking to a healthier lifestyle, this Vanilla Coconut Ninja Creami Ice Cream checks all the boxes. It’s not just one of the best easy recipes ninja creami lovers can try — it’s also incredibly creamy, dairy-free, and plant-based. Whether you’re managing a lactose intolerance or simply want to enjoy a refreshing dessert with fewer ingredients, this recipe fits the bill. You only need a few clean staples from your pantry to whip up this treat in no time. The combination of full-fat coconut milk and almond milk creates a luxurious texture, while the vanilla extract adds that comforting flavor we all know and love. Two reasons this recipe stands out? First, it’s free of dairy and refined sugar. Second, it’s processed using the popular Ninja Creami – a game-changer for quick and easy desserts. This easy recipes ninja creami treat is a freezer staple in our home, and I’m so excited to share it with you here on clara Cooks!

3) Ingredients for Vanilla Coconut Ninja Creami Ice Cream
Full-Fat Coconut Milk: This ingredient forms the base of our ice cream. The fat content gives it the signature creamy consistency you’d expect in premium ice cream. It’s dairy-free, full of healthy fats, and keeps the texture rich and smooth.
Unsweetened Vanilla Almond Milk: A light and flavorful non-dairy milk that balances out the richness of coconut milk. It adds a delicate vanilla hint and smooth texture while keeping the recipe low in calories.
Maple Syrup: A natural sweetener that pairs perfectly with coconut and vanilla. It offers sweetness without refined sugar, making this dessert both clean and delicious.
Vanilla Extract: This is what gives the ice cream its signature vanilla flavor. Use pure vanilla extract for the best results—it really enhances the taste and aroma.
Pinch of Sea Salt: Just a small amount of salt helps bring out the sweetness and ties all the flavors together.

4) How to Make Vanilla Coconut Ninja Creami Ice Cream
Step 1: In a medium mixing bowl, combine the full-fat coconut milk, unsweetened vanilla almond milk, maple syrup, vanilla extract, and a pinch of sea salt. Whisk until everything is completely blended and smooth. Make sure no lumps from the coconut milk remain, and the mixture is fully integrated. This will ensure a smooth final texture after freezing and spinning.
Step 2: Carefully pour the mixture into the Ninja Creami pint container. Seal the lid tightly and place the container upright in the freezer. Freeze for at least 24 hours. This time allows the mixture to solidify evenly, which is essential for the Ninja Creami to function properly during processing.
Step 3: Once fully frozen, remove the pint from the freezer. Attach it to the Ninja Creami machine and process using the “Lite Ice Cream” function. This setting is ideal for dairy-free or low-fat mixtures and produces a super creamy texture without any added dairy.
Step 4: If your ice cream is crumbly after the first spin (which can happen depending on freezer temperature), don’t worry. Simply add a tablespoon of almond milk to the pint and run the “Respin” function. This brings the mixture together into a soft, scoopable consistency.
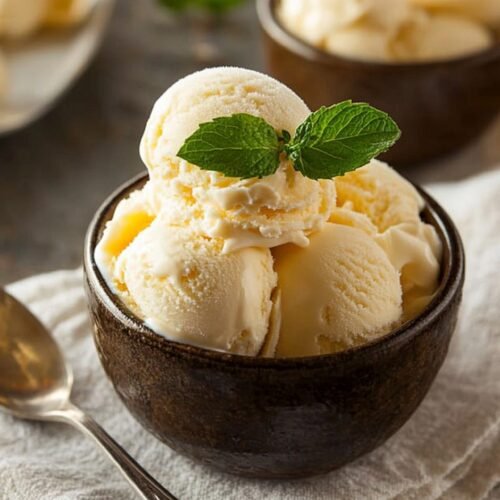
Step 5: Serve immediately for soft-serve texture or freeze for an additional 1-2 hours if you prefer a firmer consistency. This step is great when making it ahead for gatherings or parties. Top with coconut flakes, fresh fruit, or even dairy-free chocolate chips for extra indulgence!

5) Tips for Making Vanilla Coconut Ninja Creami Ice Cream
To get the best results from this easy recipes ninja creami dessert, always ensure your ingredients are at room temperature before mixing. This helps them blend together more evenly. Don’t skip whisking—taking time to mix thoroughly ensures a consistent flavor and texture throughout. When it comes to sweeteners, maple syrup works beautifully, but you can also experiment with agave or honey (if not vegan). If you want to change the flavor, try adding a little cinnamon or even a splash of coconut extract to highlight the tropical notes. Lastly, don’t rush the freeze time—freezing for less than 24 hours may lead to an uneven spin in your Ninja Creami.
6) Making Vanilla Coconut Ninja Creami Ice Cream Ahead of Time
Planning ahead? You’re in luck—this dessert is ideal for prepping in advance. The ice cream mixture can be made and frozen several days ahead of time. Once spun in the Ninja Creami, you can even return it to the freezer in the same container. Just make sure to cover the top with parchment paper before sealing the lid to prevent freezer burn. For a firmer texture, re-freeze for an hour after spinning. And here’s a pro tip from clara at clara Cooks—make a double batch and store one pint unprocessed. That way, when a craving strikes, you’re just one spin away from enjoying your favorite dairy-free vanilla coconut treat!
7) Storing Leftover Vanilla Coconut Ninja Creami Ice Cream
Leftovers? Not a problem. Just smooth out the surface of the ice cream in the Ninja Creami container, cover it with a lid, and store it back in the freezer. For best results, consume within 5 to 7 days. If the texture becomes icy, use the Respin function on your Ninja Creami to bring it back to life. Want to store in a separate container? Transfer it to an airtight, freezer-safe container with a piece of parchment directly on the surface. This keeps the creamy texture intact and helps avoid unwanted freezer crystals. Enjoy a quick scoop whenever you like—a perfect sweet finish to any meal!
8) Try these Desserts next!


9) Vanilla Coconut Ninja Creami Ice Cream Recipe
Vanilla Coconut Ninja Creami Ice Cream – easy recipes ninja creami
Ingredients
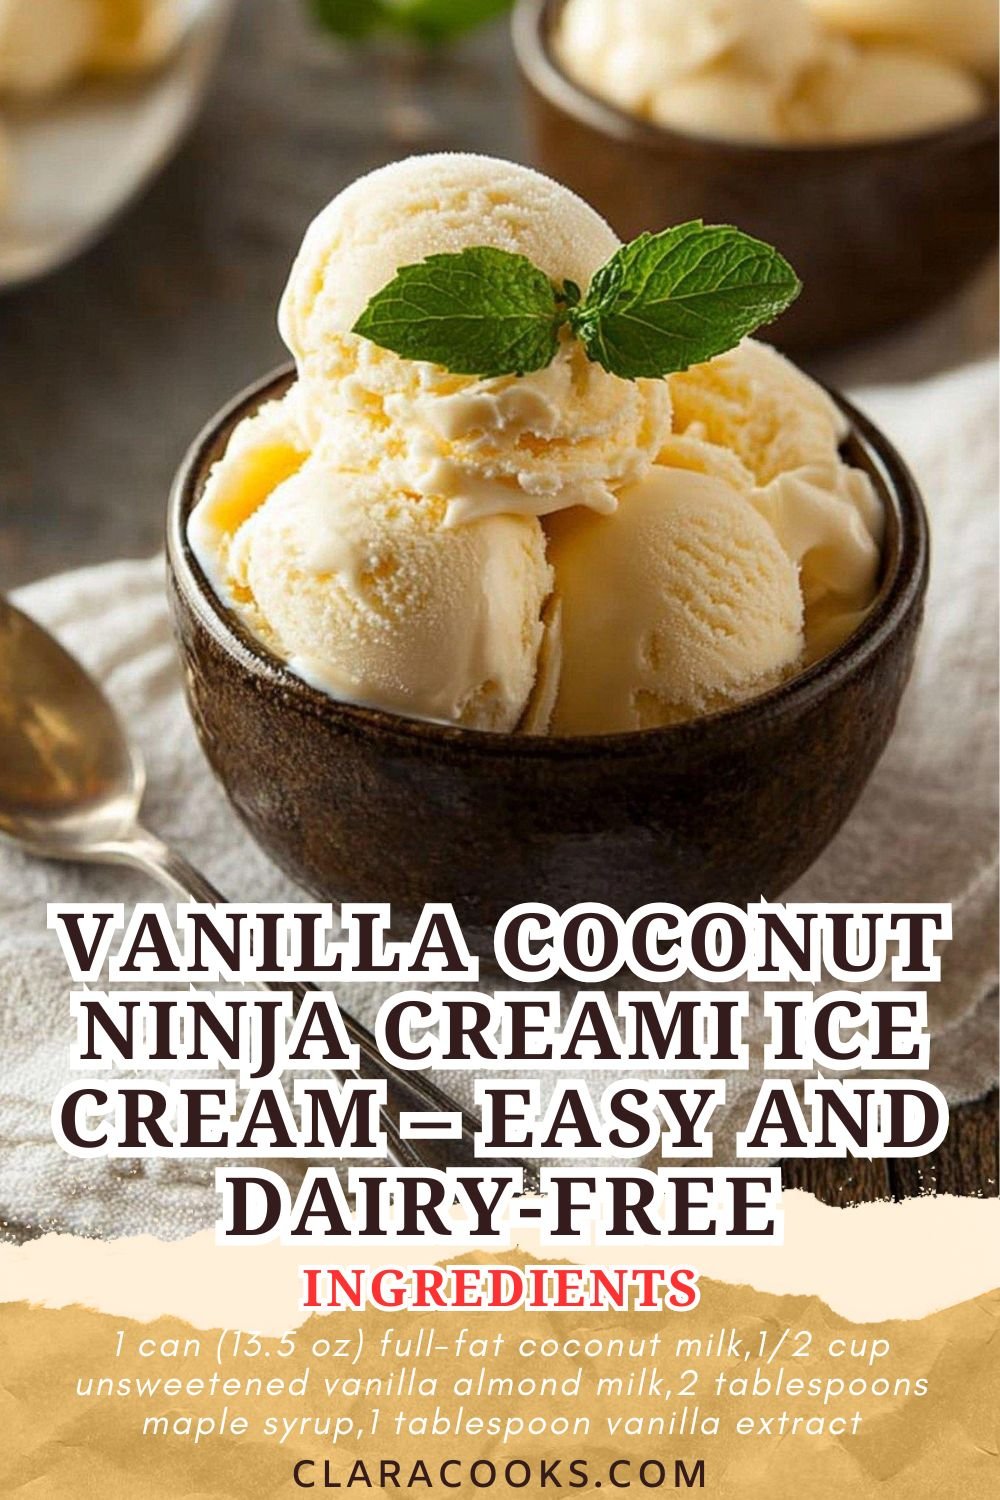
- 1 can (13.5 oz) full-fat coconut milk
- 1/2 cup unsweetened vanilla almond milk
- 2 tablespoons maple syrup
- 1 tablespoon vanilla extract
- Pinch of sea salt
Instructions
- In a mixing bowl, whisk together all ingredients until well combined.
- Pour the mixture into your Ninja Creami pint container and place it in the freezer for 24 hours.
- After 24 hours, remove from freezer and process in the Ninja Creami using the ‘Lite Ice Cream’ setting.
- If the texture is too crumbly, add a splash of almond milk and respin.
- Serve immediately or store in the freezer with a lid.
10) Nutrition
Serving Size: 1/4 pint | Calories: 210 | Sugar: 8g | Sodium: 35mg | Fat: 18g | Saturated Fat: 16g | Carbohydrates: 12g | Fiber: 1g | Protein: 1g | Cholesterol: 0mg


Leave a Comment