Table of Contents
- Why You’ll Love This Classic Brownie Recipe
- The Story Behind Brownies
- Tips for Perfect Brownies Every Time
- How to Serve and Enjoy Your Brownies
- Storage and Make-Ahead Tips
- FAQs About Classic Brownies
Key Takeaways
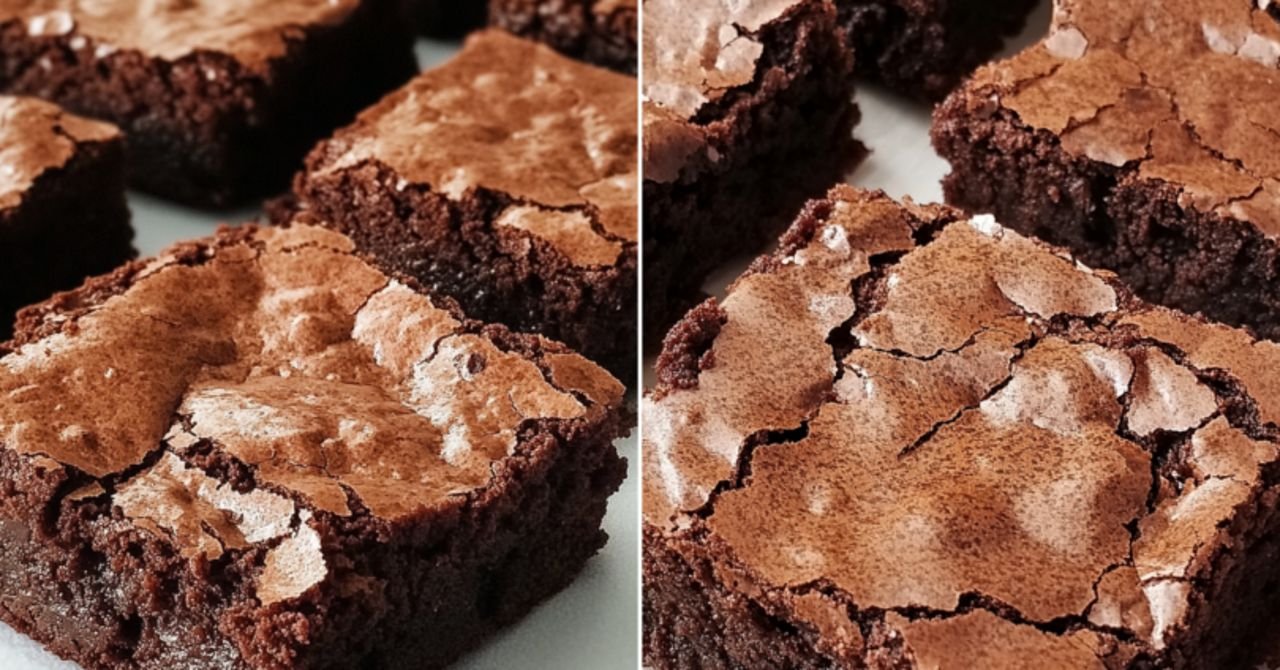
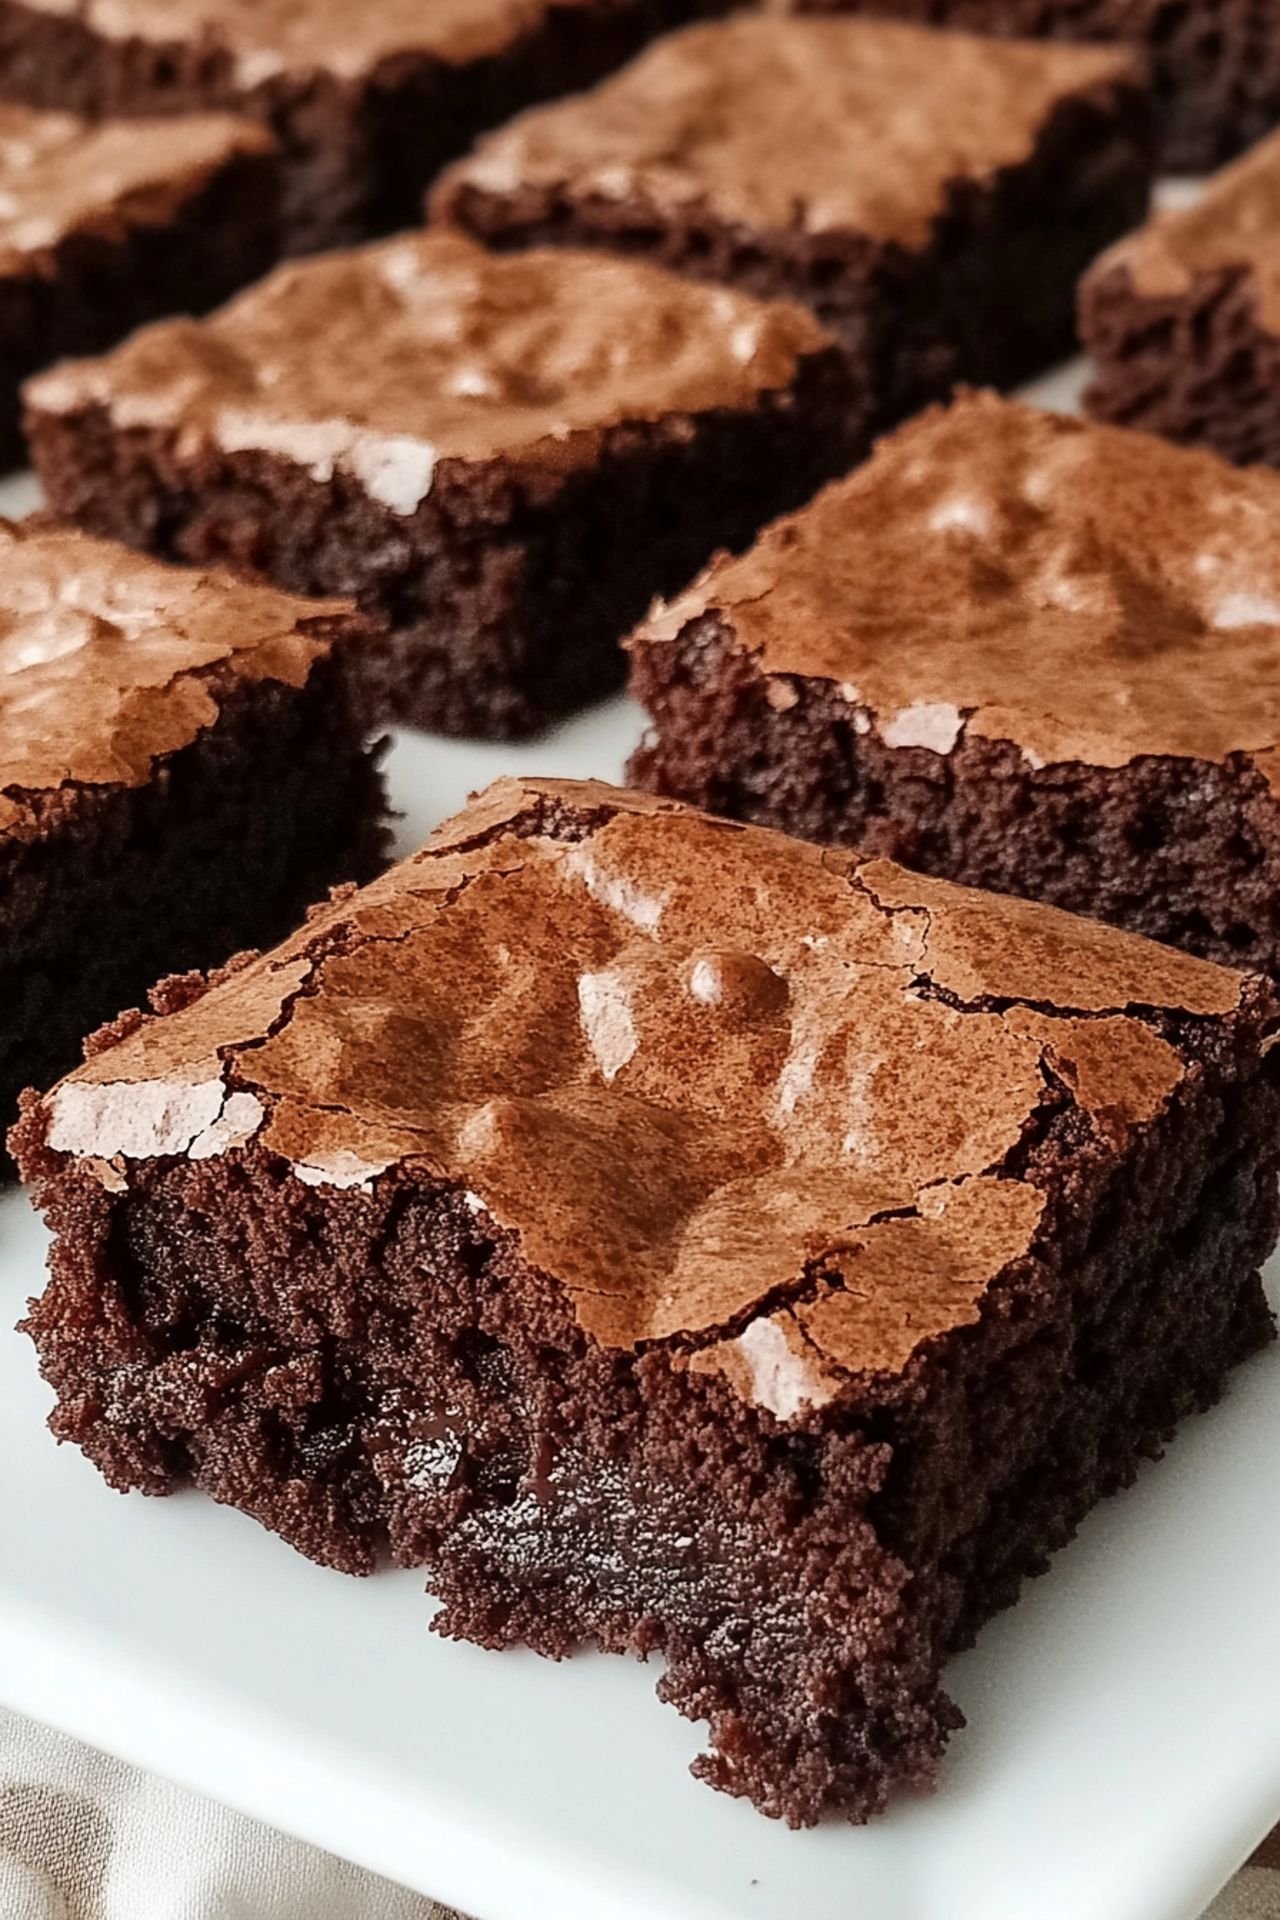
This classic brownie recipe by Clara from Clara Cooks delivers rich, fudgy brownies that are perfect for any occasion. With simple ingredients and easy instructions, it’s an ideal choice for both novice and experienced bakers. Make them your go-to dessert for family gatherings, parties, or just a sweet treat for yourself!
Why You’ll Love This Classic Brownie Recipe
Brownies are a timeless dessert loved by all, and this classic brownie recipe stands out for its rich, fudgy texture and intense chocolate flavor. Clara from Clara Cooks has perfected the balance between decadence and simplicity, ensuring this recipe becomes a staple in your kitchen.
The Story Behind Brownies
Did you know that brownies were created by accident? Legend has it that a baker forgot to add baking powder to a chocolate cake, resulting in the dense, gooey treat we know and love today. This classic brownie recipe honors that tradition while incorporating modern techniques for optimal flavor and texture.
Tips for Perfect Brownies Every Time
Achieving the perfect brownie is an art, and with these tips, you’ll nail it every time:
- Use high-quality cocoa powder for a deeper chocolate flavor.
- Don’t overmix the batter; this keeps the brownies tender.
- Underbake slightly for extra fudginess, as they continue to cook while cooling.
How to Serve and Enjoy Your Brownies
Brownies are incredibly versatile and can be enjoyed in so many ways! Serve them warm with a scoop of vanilla ice cream, or pair them with a cup of coffee for an afternoon treat. For a special occasion, drizzle with caramel or chocolate sauce and sprinkle with chopped nuts.
Storage and Make-Ahead Tips
Store your brownies in an airtight container at room temperature for up to three days or refrigerate for up to a week. They also freeze beautifully—just wrap each brownie individually in plastic wrap and store in a freezer-safe bag for up to three months. Perfect for when you’re craving a quick chocolate fix!
FAQs About Classic Brownies
Got questions about making brownies? We’ve got you covered:
- Can I use salted butter? Yes, but reduce the added salt in the recipe.
- How do I know when my brownies are done? Insert a toothpick into the center; it should come out with moist crumbs, not wet batter.
- Can I add mix-ins? Absolutely! Try chocolate chips, nuts, or even a swirl of peanut butter.
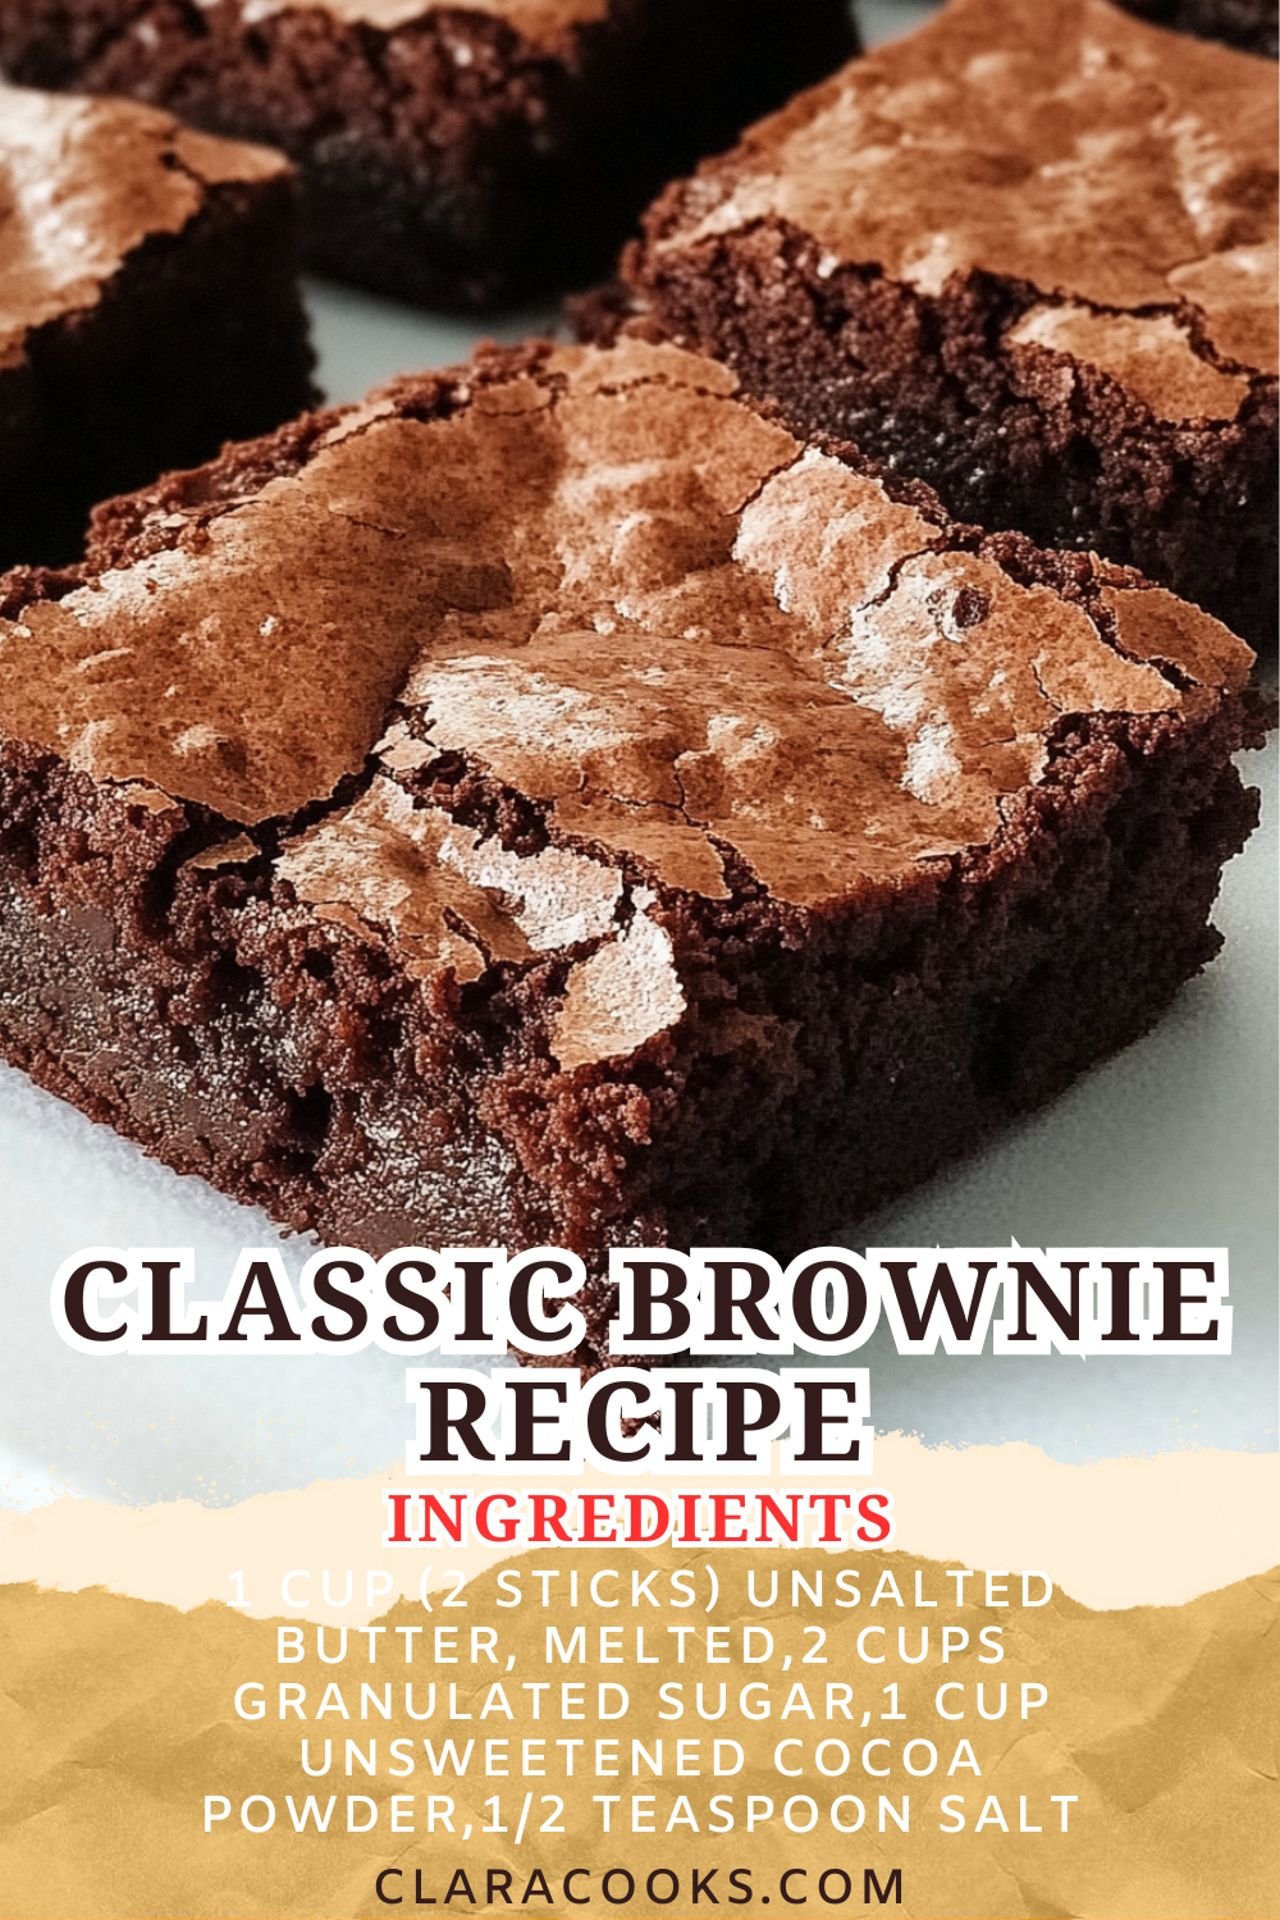
Classic Brownie Recipe
Ingredients
- 1 cup (2 sticks) unsalted butter, melted
- 2 cups granulated sugar
- 1 cup unsweetened cocoa powder
- 1/2 teaspoon salt
- 4 large eggs
- 1 teaspoon vanilla extract
- 1 cup all-purpose flour
- 1/2 teaspoon baking powder
- 1/2 cup chocolate chips (optional)
Instructions
- Preheat your oven to 350°F (175°C) and line a 9×13-inch baking dish with parchment paper or grease it lightly.
- In a large mixing bowl, combine melted butter, sugar, and cocoa powder until smooth.
- Beat in the eggs, one at a time, then add the vanilla extract.
- Sift together the flour, baking powder, and salt, then fold it into the wet ingredients until just combined.
- If desired, fold in the chocolate chips.
- Pour the batter into the prepared pan and spread evenly.
- Bake for 25-30 minutes, or until a toothpick inserted into the center comes out with moist crumbs.
- Let cool completely in the pan before slicing and serving.


Leave a Comment