
Table of Contents
- Why You’ll Love This Easy Monkey Bread Recipe
- The History Behind Monkey Bread
- Perfect Occasions to Serve Monkey Bread
- Pro Tips for Making the Best Monkey Bread
- How to Store and Reheat Monkey Bread
- Why Clara Cooks is Your Go-To for Sweet Treats
Key Takeaways
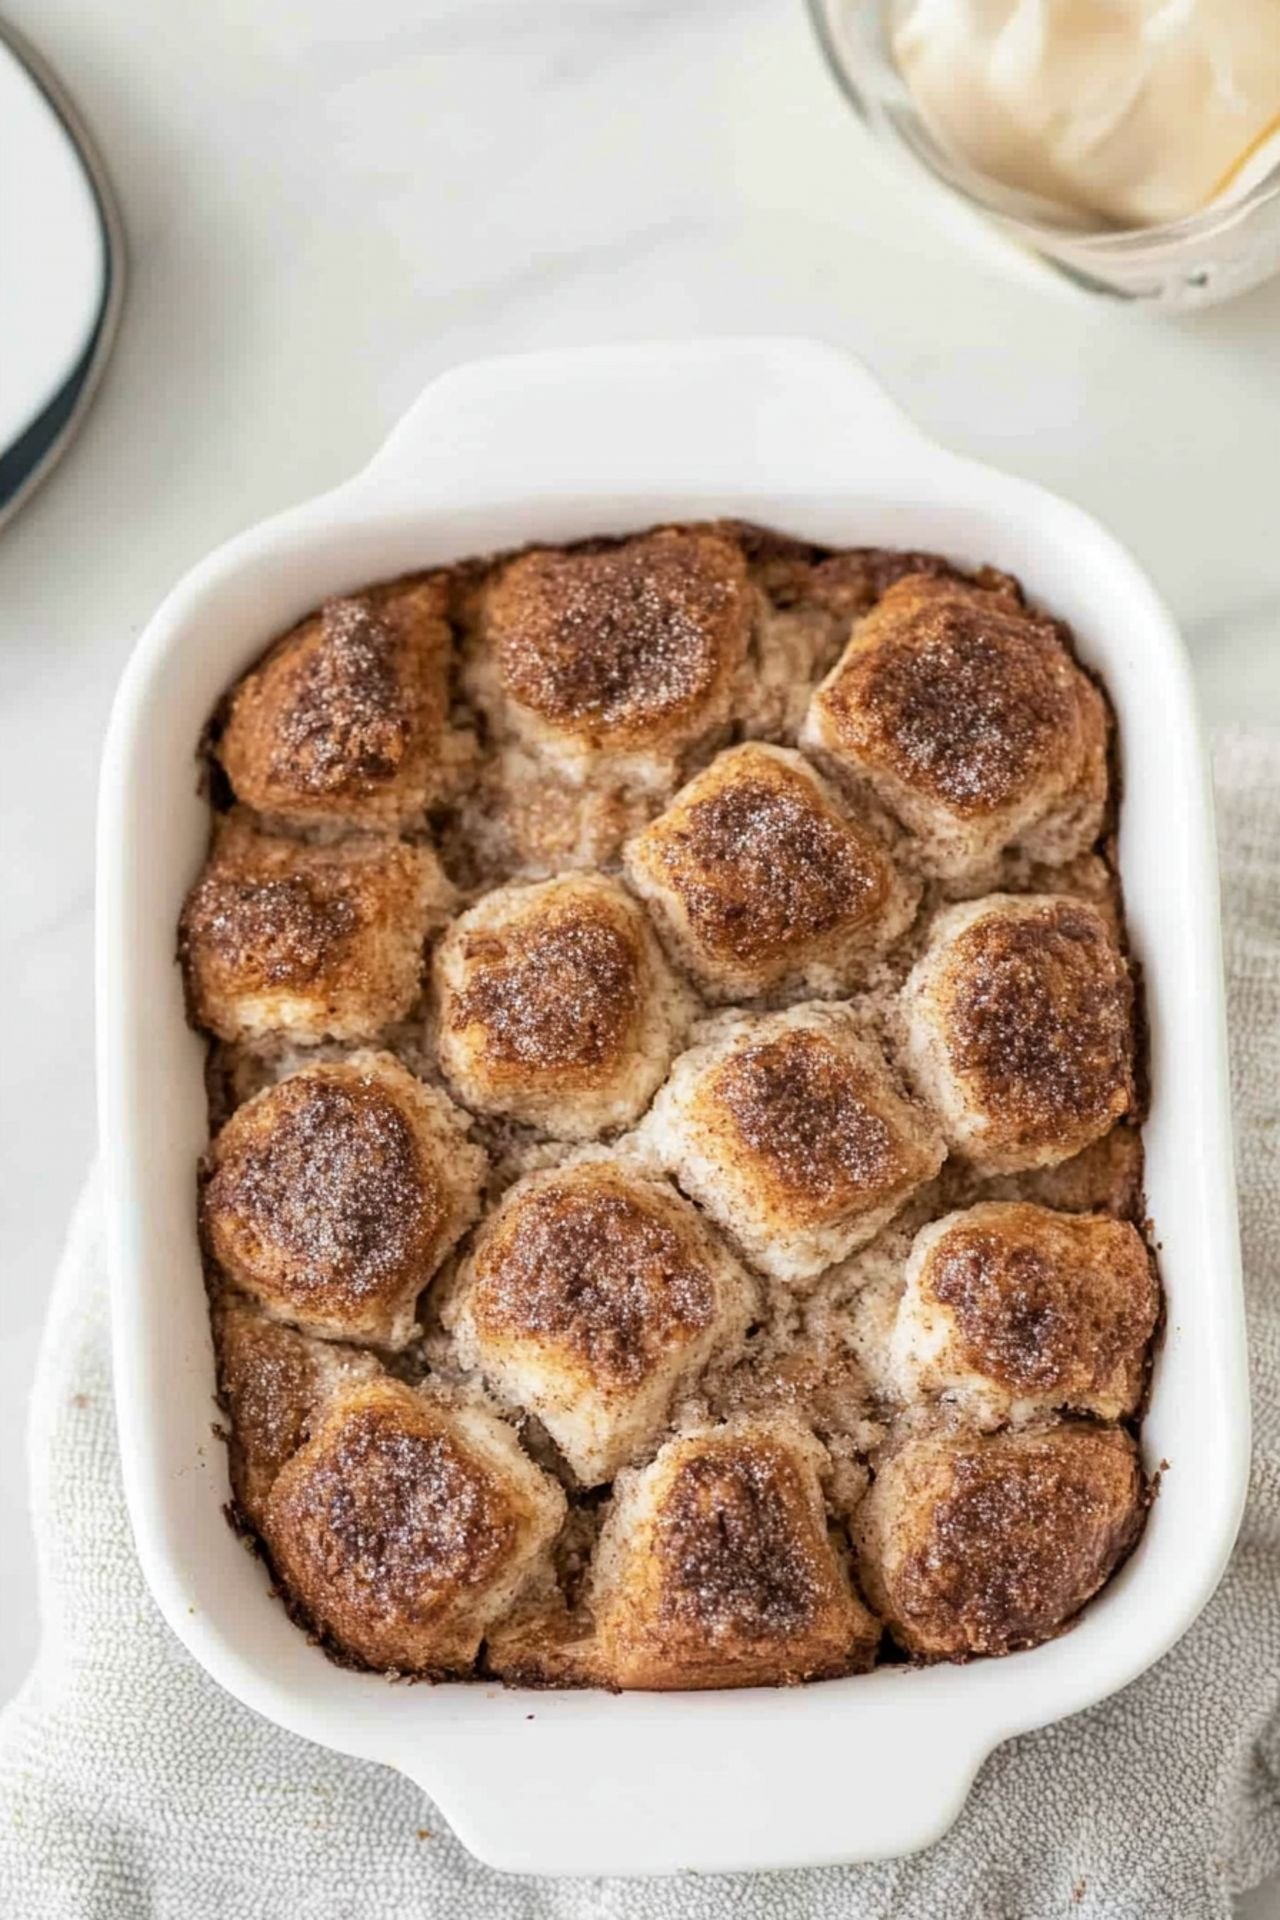
This Easy Monkey Bread Recipe is the perfect combination of sweet cinnamon, gooey glaze, and tender dough. It’s ideal for breakfast, dessert, or as a show-stopping party snack. With simple ingredients and straightforward instructions, this recipe is a must-try for anyone who loves sweet, sticky treats!

Why You’ll Love This Easy Monkey Bread Recipe
Monkey Bread is not only delicious but also incredibly simple to make, making it the perfect choice for bakers of all skill levels. This Easy Monkey Bread Recipe combines a buttery cinnamon-sugar coating with a gooey caramel glaze, creating a flavor-packed treat that’s irresistible. At Clara Cooks, we believe in recipes that bring joy, and this one is no exception.

The History Behind Monkey Bread
Did you know that Monkey Bread has roots in Hungarian cuisine and became popular in the United States in the 1950s? Its playful name comes from the way you pull apart pieces of dough, similar to how monkeys play. At Clara Cooks, we love sharing recipes with a bit of history, adding depth to every bite.

Perfect Occasions to Serve Monkey Bread
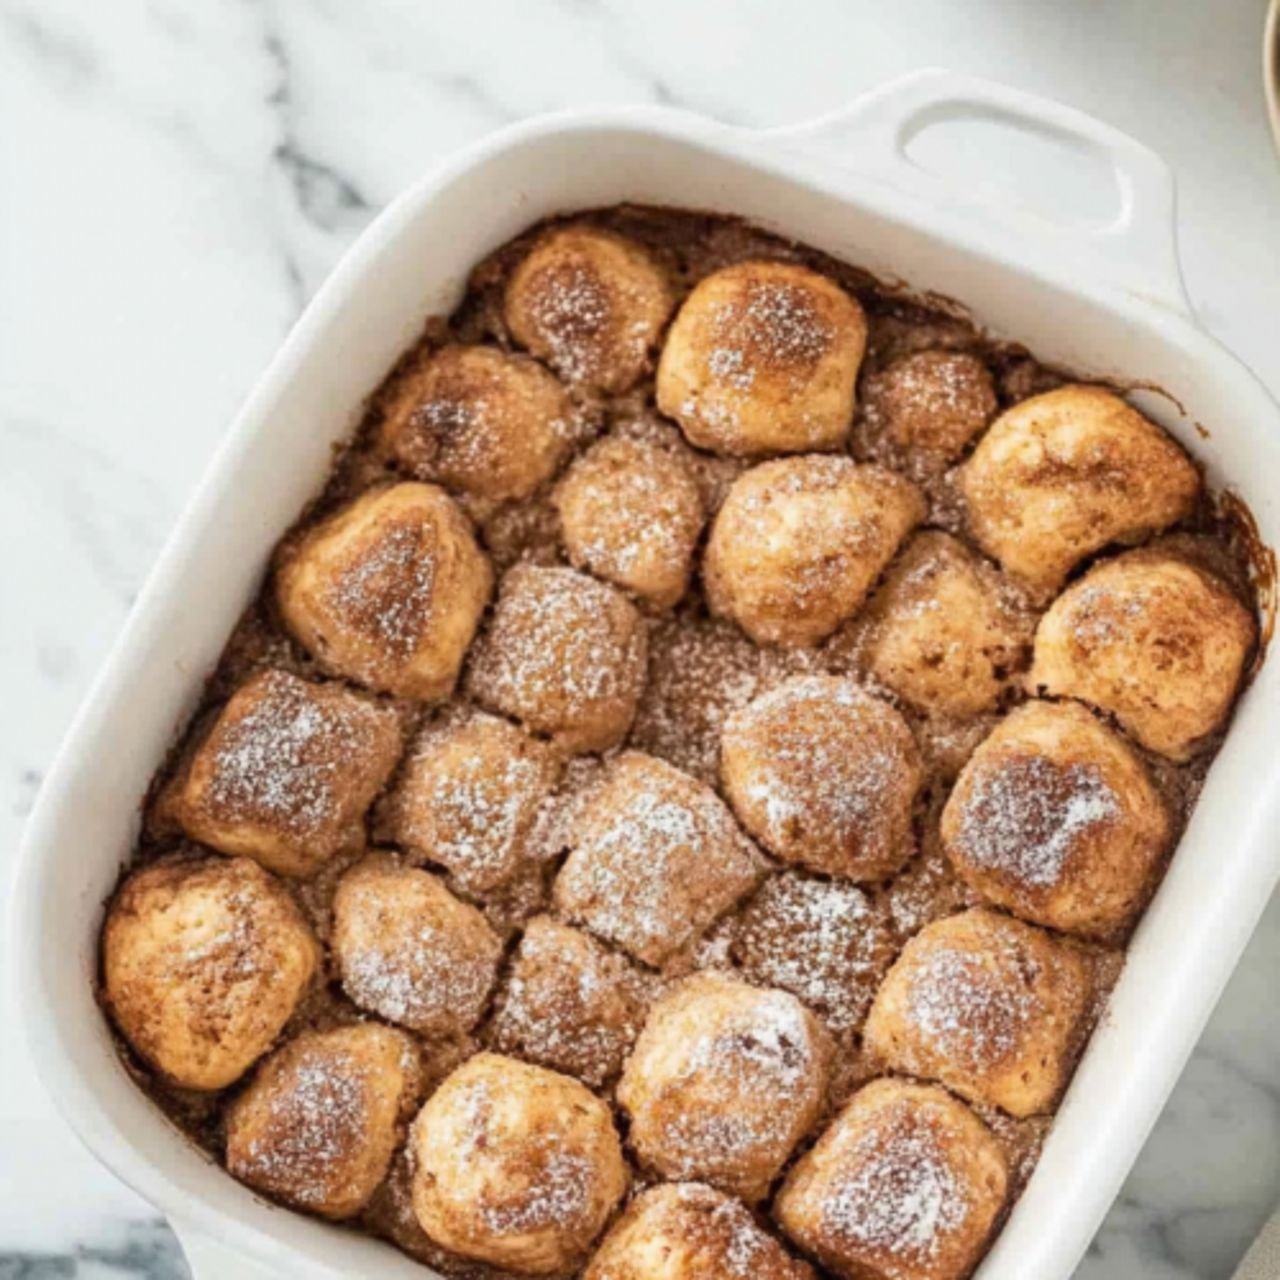
This Easy Monkey Bread Recipe shines at family breakfasts, holiday brunches, and even as a dessert for dinner parties. It’s versatile, indulgent, and always a crowd-pleaser. Serve it warm for the ultimate gooey experience!
Pro Tips for Making the Best Monkey Bread
Here are some tips to take your Monkey Bread to the next level: – Use high-quality cinnamon and vanilla extract for richer flavors. – Ensure even layering of the sugar-coated dough for consistent sweetness. – Let the bread cool slightly before inverting it to avoid losing any of that delicious glaze.
How to Store and Reheat Monkey Bread
Store any leftovers in an airtight container at room temperature for up to 2 days. To reheat, simply pop it in the oven at 300°F for 10 minutes or microwave individual portions for 15-20 seconds. The sticky sweetness will taste just as fresh as the day you made it.
Why Clara Cooks is Your Go-To for Sweet Treats
At Clara Cooks, we’re passionate about creating recipes that are easy to follow and full of flavor. This Easy Monkey Bread Recipe is just one example of how we make baking fun and accessible for everyone. Visit us at Clara Cooks for more recipes that delight and inspire.

Easy Monkey Bread Recipe
Ingredients
- 2 cans refrigerated biscuit dough
- 1 cup granulated sugar
- 2 teaspoons cinnamon
- 1/2 cup unsalted butter, melted
- 1 cup packed brown sugar
- 1 teaspoon vanilla extract
- Non-stick cooking spray
Instructions
- Preheat oven to 350°F (175°C) and lightly grease a bundt pan with non-stick cooking spray.
- Cut the biscuit dough into quarters.
- In a large zip-top bag, combine granulated sugar and cinnamon. Add biscuit dough pieces and shake to coat evenly.
- Layer the coated biscuit pieces in the prepared bundt pan.
- In a saucepan, melt butter over medium heat and stir in brown sugar and vanilla extract until smooth.
- Pour the mixture evenly over the biscuit dough in the pan.
- Bake for 30-35 minutes or until golden brown and bubbly.
- Let cool for 10 minutes before inverting onto a serving plate. Serve warm and enjoy!


Leave a Comment