
This protein ice cream is a dream come true for dessert lovers. It’s packed with flavor, creamy in texture, and best of all—it’s guilt-free! Whether you’re following a fitness plan or simply want a refreshing sweet treat, this homemade healthy ninja creami recipe is perfect for you. With easy pasta hamburger recipes, Easy Cheesy Bread, Lunch Menu For Guests, snack ideas easy quick no bake desserts, Best Chicken Casserole Ever, and Instant Yeast Dinner Rolls also in your rotation, this creamy dessert fits right in with a variety of quick and easy meals. Plus, it’s a great way to add more protein to your diet without sacrificing taste.

Table of Contents
- 1) Key Takeaways
- 2) Easy Protein Ice Cream Recipe
- 3) Ingredients for Protein Ice Cream
- 4) How to Make Protein Ice Cream
- 5) Tips for Making Protein Ice Cream
- 6) Making Protein Ice Cream Ahead of Time
- 7) Storing Leftover Protein Ice Cream
- 8) Try these Desserts next!
- 9) Protein Ice Cream Recipe
- 10) Nutrition
1) Key Takeaways
- Easy and delicious high-protein ice cream recipe using the Ninja Creami
- Made with simple, wholesome ingredients like protein powder and banana
- Perfect post-workout treat or low-calorie dessert option
- Ideal for fitness lovers, dieters, or anyone wanting healthy ninja creami recipes
2) Easy Protein Ice Cream Recipe
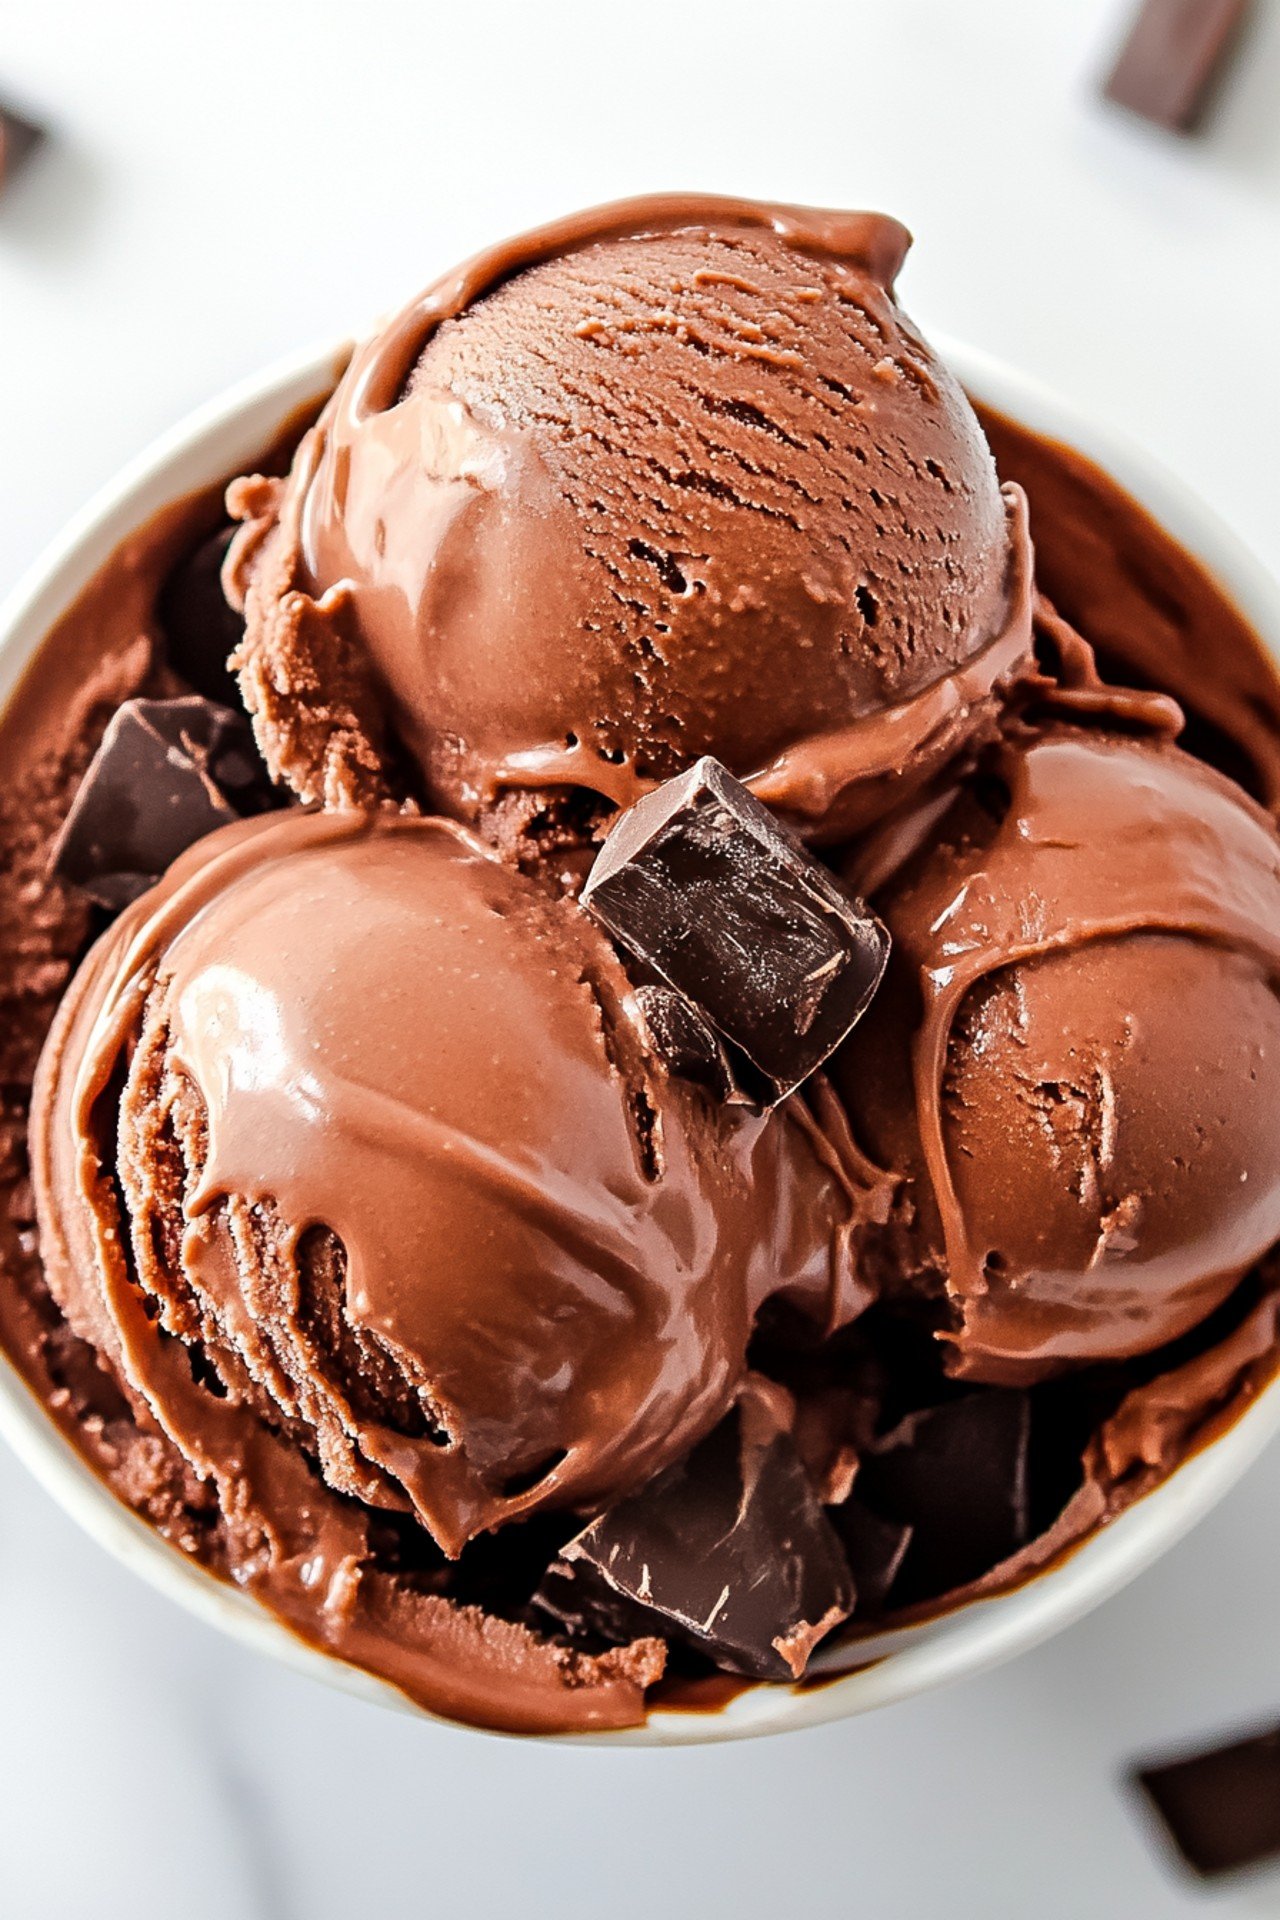
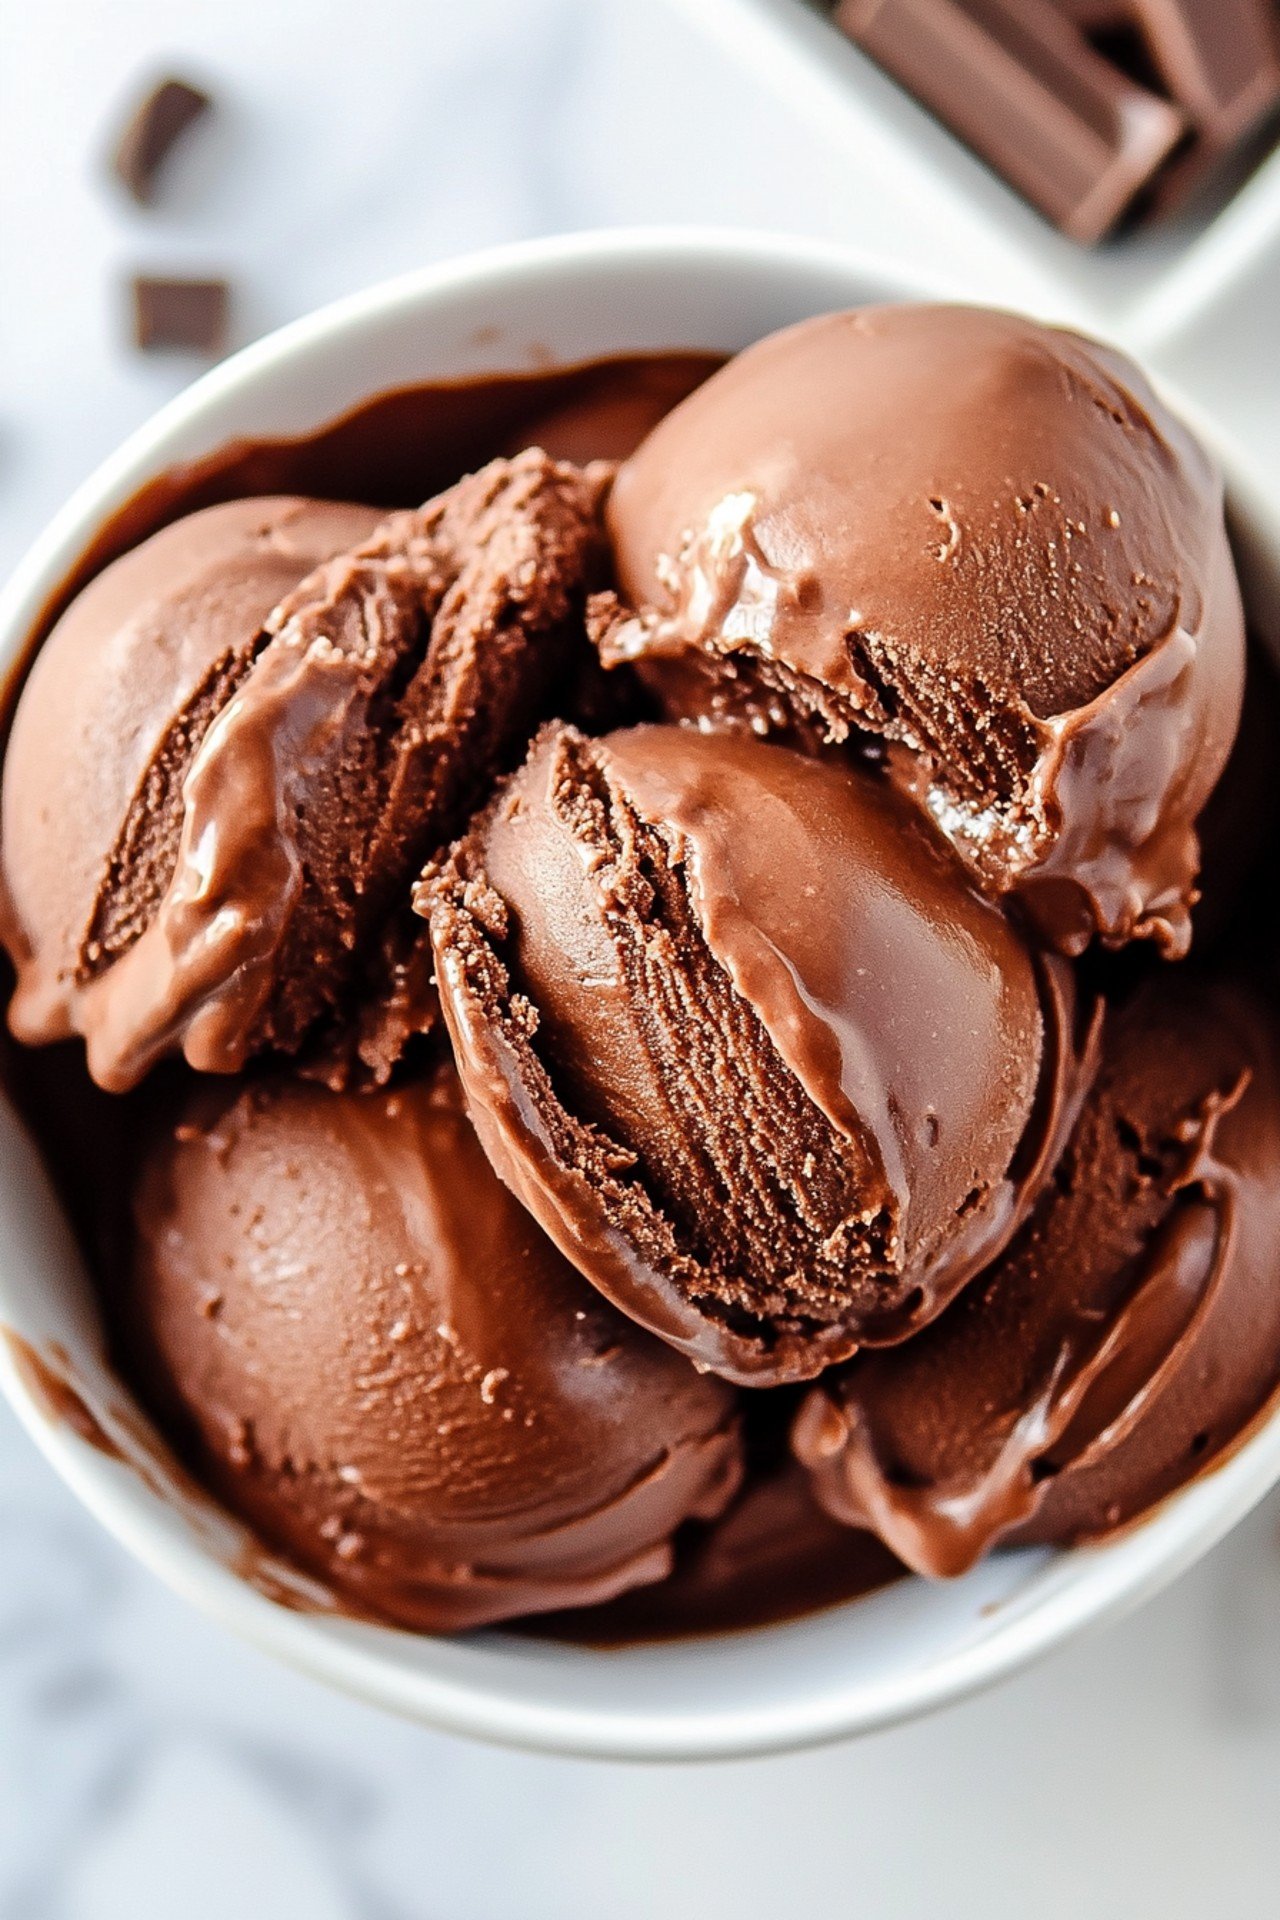
If you’re looking for a creamy, dreamy dessert that won’t sabotage your health goals, this protein ice cream is exactly what you need. Made with just a handful of ingredients and no refined sugar, it’s one of the best healthy ninja creami recipes out there. You can whip it up in minutes, freeze, and enjoy guilt-free. Whether you’ve had a tough workout or just need a refreshing treat, this recipe will hit the spot. It’s full of flavor, protein-packed, and low in calories—a winning combo!
3) Ingredients for Protein Ice Cream
1 scoop chocolate protein powder: This is the foundation of your protein ice cream. It adds the rich chocolate flavor and loads of muscle-building protein. Choose your favorite whey or plant-based protein for best results.
1 cup unsweetened almond milk: A low-calorie, dairy-free liquid that helps blend everything together smoothly. You can swap it with oat milk or regular milk if desired.
1 frozen banana: Acts as the creamy base and natural sweetener. Be sure it’s ripe for the best texture and taste. Frozen bananas also add a thick, ice-cream-like consistency.
1 tbsp unsweetened cocoa powder: Boosts the chocolate flavor and keeps the ice cream rich and satisfying. A must if you’re a chocolate lover!
1 tsp vanilla extract: A little bit of vanilla enhances all the flavors and adds depth to your protein treat.
1/4 tsp xanthan gum (optional): This helps make the texture extra creamy, giving you that scoopable consistency found in traditional ice creams.
Sweetener of choice, to taste: Depending on how sweet your protein powder is, you might want to add a bit of stevia, honey, or maple syrup for balance.

4) How to Make Protein Ice Cream
Step 1: Gather all your ingredients and make sure your banana is fully frozen for the best creamy texture.
Step 2: Place all ingredients—protein powder, almond milk, frozen banana, cocoa powder, vanilla extract, xanthan gum (if using), and sweetener—into a high-powered blender or Ninja Creami container.
Step 3: Blend until completely smooth. The mixture should be thick and creamy, similar to soft-serve ice cream. You can scrape down the sides of the blender to make sure everything gets evenly mixed.
Step 4: Pour the mixture into a freezer-safe container. Seal it and freeze for 2 to 4 hours, or until scoopable. For Ninja Creami users, freeze in the official container for best results.
Step 5: When ready to eat, let it sit at room temperature for about 10 minutes. Scoop into a bowl and enjoy your delicious, healthy ninja creami recipe.
5) Tips for Making Protein Ice Cream
Use ripe bananas for the best flavor and sweetness. Unripe bananas tend to be starchy and can affect the creaminess. Don’t skip the xanthan gum if you want that smooth store-bought feel. Blending the ingredients well is key—don’t rush it. If you’re using a regular blender, you might need to stop and stir a few times. For extra texture and flavor, feel free to mix in dark chocolate chips, chopped nuts, or berries after blending.
6) Making Protein Ice Cream Ahead of Time
This protein ice cream is perfect for meal prep or dessert planning. Make a batch and store it in individual containers so you can grab and go. If you’re using the Ninja Creami, prep the mix and freeze in the container—then just spin when you’re ready to enjoy. It’s a smart way to have a healthy treat available anytime. For those following fitness or diet plans, this method of preparation is a lifesaver. It supports your healthy goals while satisfying your sweet tooth.
7) Storing Leftover Protein Ice Cream
Leftovers can be stored in an airtight container in the freezer for up to a week. For best results, let the container sit at room temperature for 10–15 minutes before scooping to soften it slightly. If it becomes too icy, re-blend the mixture in your Ninja Creami or blender to bring back the original texture. This makes it one of those easy pasta hamburger recipes in dessert form—convenient, flexible, and always satisfying.
8) Try these Desserts next!


9) Protein Ice Cream Recipe

Protein Ice Cream – Healthy Ninja Creami Recipes Made Easy
Ingredients
- 1 scoop chocolate protein powder
- 1 cup unsweetened almond milk
- 1 frozen banana
- 1 tbsp unsweetened cocoa powder
- 1 tsp vanilla extract
- 1/4 tsp xanthan gum (optional, for creaminess)
- Sweetener of choice, to taste
Instructions
- Add all ingredients to a high-speed blender.
- Blend until completely smooth and creamy.
- Transfer the mixture to a freezer-safe container.
- Freeze for 2–4 hours, or until scoopable.
- Before serving, let it sit at room temperature for 5–10 minutes for a softer texture.
10) Nutrition
Serving Size: 1/2 recipe | Calories: 180 | Sugar: 9 g | Sodium: 150 mg | Fat: 4 g | Saturated Fat: 1 g | Carbohydrates: 20 g | Fiber: 5 g | Protein: 18 g | Cholesterol: 0 mg


Leave a Comment